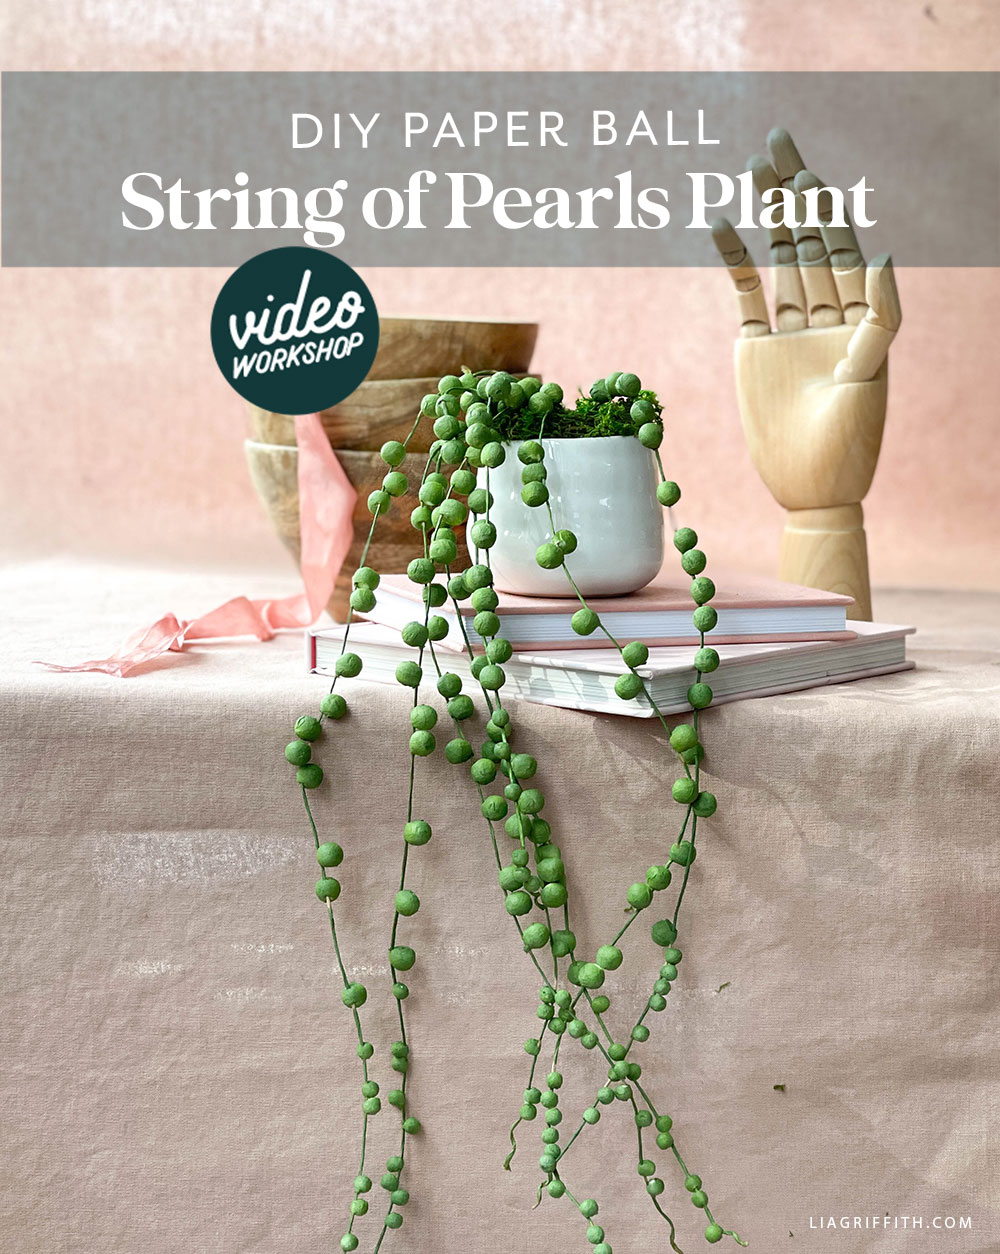
String of Pearls Paper Plant Video Workshop

You'll have a ball making this
Growing this plant indoors can be tricky, so why not craft your own version to enjoy? This paper string of pearls is a fun and easy project that's perfect for beginners. Just follow our tutorial below!
Find the links for all of the Crafty Wonderland projects here!
Get a free gift with any purchase over $75 at FeltPaperScissors.com! Just enter coupon code CRAFTYWONDERLAND at checkout.

Unlike other paper plants we have made, there's no gluing or shaping involved. And there's also no pattern to cut! To create the trailing stems and round leaves for our paper string of pearls, Meagan used natural bind wire and two different sizes of cotton spun paper balls.
Once you are done crafting this succulent, you'll want to place it somewhere higher up, like on a shelf, bookcase, or mantel. We love the quirky character of this paper string of pearls, and this is a great way to enjoy its unique trailing greenery. Another option is to hang it up in a DIY plant hanger.
Crafting tip: Once you're done threading the cotton spun paper balls through all of your wires, hang them up side by side so you can easily spray them all at once.
How to Make a Paper String of Pearls
- Gather the craft tools and materials you need from the list above.
- Cut 8–10 pieces of bind wire in varying lengths between 8 inches and 16 inches.
- Gather about 15 of the 8mm balls and 8 of the 6mm balls per piece of bind wire; then use needle-nose tweezers to push a hole through the side of each ball.
- Thread the balls onto a piece of bind wire, starting with the larger size.


Explore More
Like this project? Browse all of our paper plants to see what else you can make! Or check out the rest of our February collection.
For daily DIY inspiration, join us on Facebook, Pinterest, and Instagram. And check out our YouTube channel for videos on how to make paper flowers, plants, and more.
Better Than Pinterest
Become a member and get instant access to a professional collection of 2000+ crafts, 400+ videos, and a growing library of master classes for all skill levels. For less than your daily coffee, you'll learn new skills and techniques, create beautiful handmade projects like this, and join a community of crafters just like you! Spend less time searching, more time crafting. It's better than Pinterest, promise. 😉
Become a Member


Discussion
Ask Lia or the community!
9 Comments
-

Thedotbreeatgmaildotcom
November 25, 2025 at 8:11pm
-

Lia
November 26, 2025 at 9:53am
@Thedotbreeatgmaildotcom
-

Jennifer
June 23, 2022 at 7:44am
-

Lia
June 25, 2022 at 8:16am
@Jennifer
-

Laura
February 8, 2022 at 6:20pm
-

Lia
February 9, 2022 at 8:04am
@Laura
-

Carol
January 15, 2022 at 3:44pm
-

Lia
January 17, 2022 at 9:33am
@Carol
-

Annie
February 3, 2021 at 6:58am
Back to the TopLove this one so much. I’m going to make so many more after my fingers recover from tweezer stab wounds haha.
Haha! I hear you! Our newer spun balls (Spunnys) that we are bringing in are softer. 🙂
Hello Lia! As always I love your designs! I have asthma and I am not a fan of spray paint. Instead of spray paint I used green colored floral wire and covered your cotton spun balls with your Juniper colored extra fine crepe paper. I am loving the results and it is more environmentally friendly! Just wanted to share for those who have the same issues spray paint that I have. 🙂 Thank you again for all of your brilliant creations Lia!
Thanks for sharing that! I am not a fan either, and we are finding this brand is too hard to find anymore, so we are always looking for better ideas. 🙂
Can you recommend an alternative to the Design Master spray? It looks like it is unavailable now.
We recommend the Liquitex paints as a backup and for this plant, I would use a light stray with the hookers green. https://www.dickblick.com/products/liquitex-professional-spray-paint/
Where do you get cotton spun paper balls? I have never seen any.
Hi Carol. There are links in the post for these. We first saw these in Germany as they are a vintage European craft material. We now are selling them in our shop (Felt Paper Scissors) because we love them so much and they were hard for people to find.
I’m so happy that you allow non members to access this a bit after its released! Thank you!