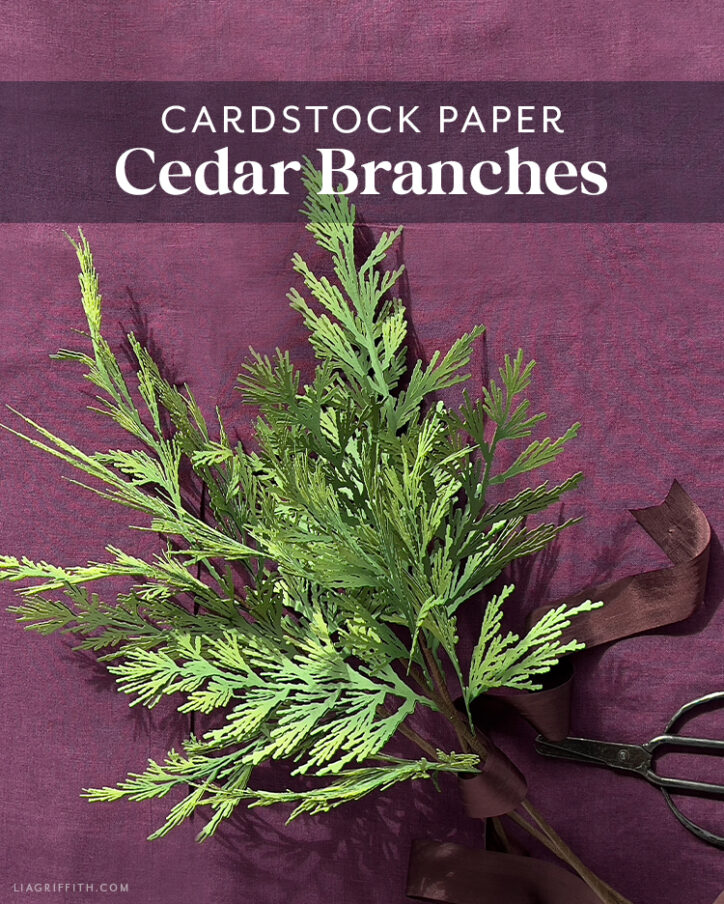
Cardstock Cedar Branches
Branching Out
As crisp autumn days tiptoe toward chilly winter nights, it’s finally time to embrace the warmth and coziness of the season. With Christmas on its way, we designed these Cardstock Cedar Branches to help usher in the yuletide spirit. This easy DIY project combines Cedar’s robust charm with the festive allure of the holidays for a piece that’s in perfect harmony. Be sure to check out our collection of winter crafts for even more ways to decorate your winter wonderland this holiday season.
Goodies You Can't Google
You've found a premium project. But for less than the price of a fancy coffee... You'll get instant access to this and over 2,000 other premium projects inside the Lia Griffith membership!
Become a Member

Despite how detailed it appears, these cardstock cedar branches are surprisingly very beginner-friendly! We recommend a cutting machine for this project, because precision is key when it comes to crafting a realistic branch. Before you begin, first take a look at the list of tools and materials to the right. Next, download our SVG file or PDF template if you plan to cut your pieces by hand.
I love drawing inspiration from nature when designing pieces for you all. With its enchanting fragrance and rustic charm, Cedar has long been associated with winter and Christmas decorations. Their rich green color coupled with beautiful detailing make them a perfect addition to this month's collection, and we're blown away by how well they turned out! Although our card stock cedar branches may lack that trademark holiday scent, this simple, but elegant craft captures the essence of cedar so beautifully — you won't even miss it!
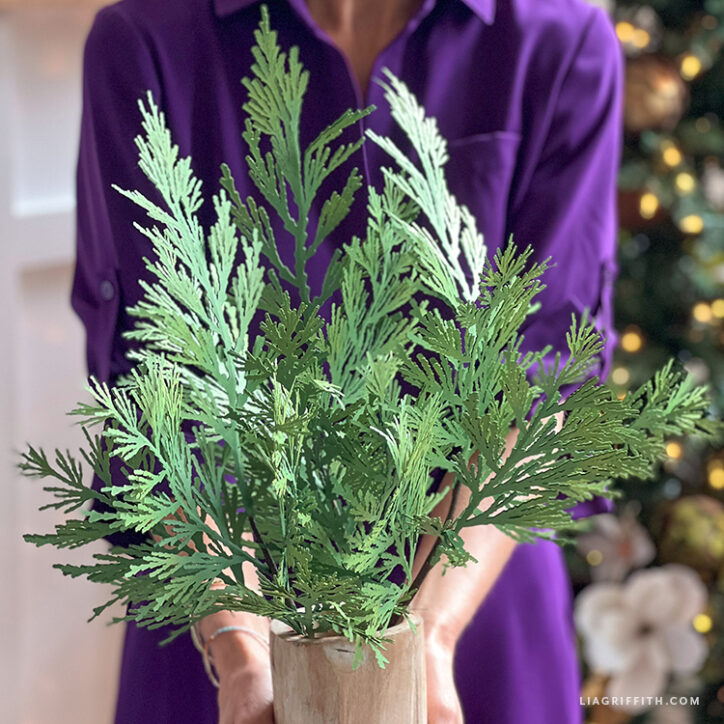
In order to make your cedar branches look truly realistic, create a bit of depth and dimension by gently applying PanPastel in bright yellow-green to the tips of your card stock branches using your blending brushes. Each cedar sprig is constructed with two layers of card stock and sturdy wire, making them beautiful and long-lasting. Once construction is complete, wrap your branches in bark-colored floral tape and, hooray! You've just made a little holiday magic!
These card stock cedar branches are incredibly versatile. Once ready, you can display them on their own for a touch of charming winter greenery or include them in a beautiful arrangement. Alternatively, you can craft them into a beautiful cedar wreath that will leave everyone in awe.
The natural beauty of Cedar will always be in style and pairs beautifully with any holiday theme. We'd love to see how you've styled your card stock cedar branches! Share your pics with us in our crafters' community or on Instagram with the hashtag #MadeWithLia.
[lg_video][/lg_video]


All the Goodies You Can't Google 🎁
Tired of scrolling endlessly for the perfect project? Save time, money, and Google-induced headaches with us! Our membership makes it easy to create beautifully finished crafts without needing to look all over the internet for ideas and materials or spend lots of money on individual videos and templates.
Become a Member

Discussion
Ask Lia or the community!
16 Comments
-

Louise
September 24, 2024 at 10:23am
-

Lia
September 24, 2024 at 4:36pm
@Louise
-

Annita
December 2, 2023 at 1:36pm
-

Lia
December 2, 2023 at 7:13pm
@Annita
-

Candy
November 21, 2023 at 3:30pm
-

Lia
November 22, 2023 at 5:26am
@Candy
-

Candy
November 24, 2023 at 11:17am
@Lia
-

Lia
November 26, 2023 at 9:58am
@Candy
-

Marion
November 20, 2023 at 9:38am
-

Lia
November 20, 2023 at 9:50am
@Marion
-

Kelly
November 8, 2023 at 10:25am
-

Lia
November 9, 2023 at 7:26am
@Kelly
-

Pam
November 3, 2023 at 9:21am
-

Lia
November 3, 2023 at 9:30am
@Pam
-

Joelle
November 2, 2023 at 8:16am
-

Lia
November 2, 2023 at 12:49pm
@Joelle
Leave a CommentI am so thrilled with how these turned out. I’m glad I found this pattern in September so I have time to make more before the holidays. Thank you for all the effort you and your team put into providing us with such realistic flowers and branches.
I love to hear that! These are one of my favorites. 🙂
WIL HEEL GRAAG PDF VAN CEDER TAKKEN EN HET LUKT ME NIET
There is a download button in the right hand column. This is a zipped file with all of the templates and tutorial. Here is a video showing you how to unzip files. Even if you are not using a cutting machine, this will give you the example. Let me know if that helps. https://liagriffith.com/craft-academy/a-crafters-guide-to-the-cricut-maker/lessons/1-lia-griffith-files-for-the-cricut/
I got a (-45,-84) message on this from Cricut, I am on the phone with them right now and they can’t figure out why it wont cut
Try hiding the “designer notes” layer then if need, you can resize the image slightly. I do not know what that error code is, but I am guessing it is enlarging the file making it unable to cut. Let me know if this works or not.
I tried that, I think it may be my machine. Im so sad!! This is not the right time of year for my Cricut to break down. It doesnt seem to want to do anything too complicated
Oh no!! I hope they can repair it for you.
I have been trying to cut this on the Maker but continue to get an error message from Cricut (-45,54). Has anyone else had this issue?
I think it means your image is too large. First start by hiding the designer notes and that should work. If it still says it is too large to cut you can size down slightly.
These look so real! Can’t wait to make them!
They are so pretty in person!!
Did you make the wood-like vase that you show in some of your photos? If not, where did you find it?
We did not make that vase. We have a set of three that we bought quite a few years ago at our floral supply here in Portland.
Hi- I love this project but do not own a cutting machine. For a beginner which machine do you recommend? Thank you
We have a video for that! Our preference is the Cricut Maker. And, I am going to bet there will be some nice sales for the machines soon.
https://liagriffith.com/craft-academy/11-things-to-consider-before-buying-a-cutting-machine/
We also have a class here to help you get started. https://liagriffith.com/craft-academy/a-crafters-guide-to-the-cricut-maker/
Back to the Top