DIY Double-Sided Crepe Paper

Pick your colors and custom make your own
I first shared this technique here in 2017.
It was not a grand idea. I wanted a color that did not yet exist, and I have a sewing background, so I reached for what a fiber crafter reaches for. A strip of stitch witchery and a warm iron. It worked. I posted it. And over the years, that little technique traveled through the paper flower community until it became something crafters everywhere just know how to do.
I love that. It is the whole reason I put things on the internet.
But the version on this page in 2017 is not the version we use now. Meagan and I have laminated a great deal of crepe paper since then, and we know our numbers now. So I have updated it. This is the studio version, temperatures and all.
Here it is start to finish in this video from our Crepe Paper Flower Foundation Series. The written steps are below the video if you would rather read them, or want something to glance at while your iron heats up.
Tools
- Craft Scissors
- Detail Scissors
- Cricut Easy Press (or use an iron)
- Felt Ironing Mat

Why laminate your own
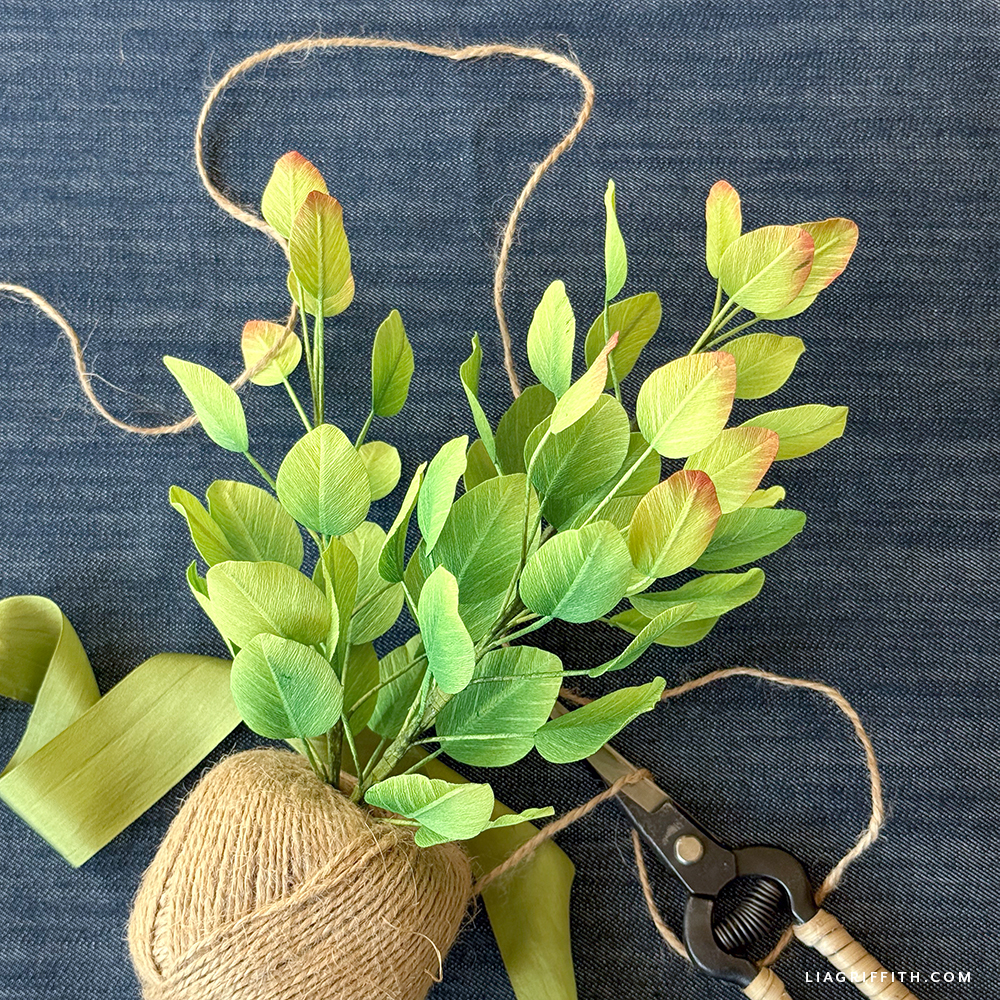
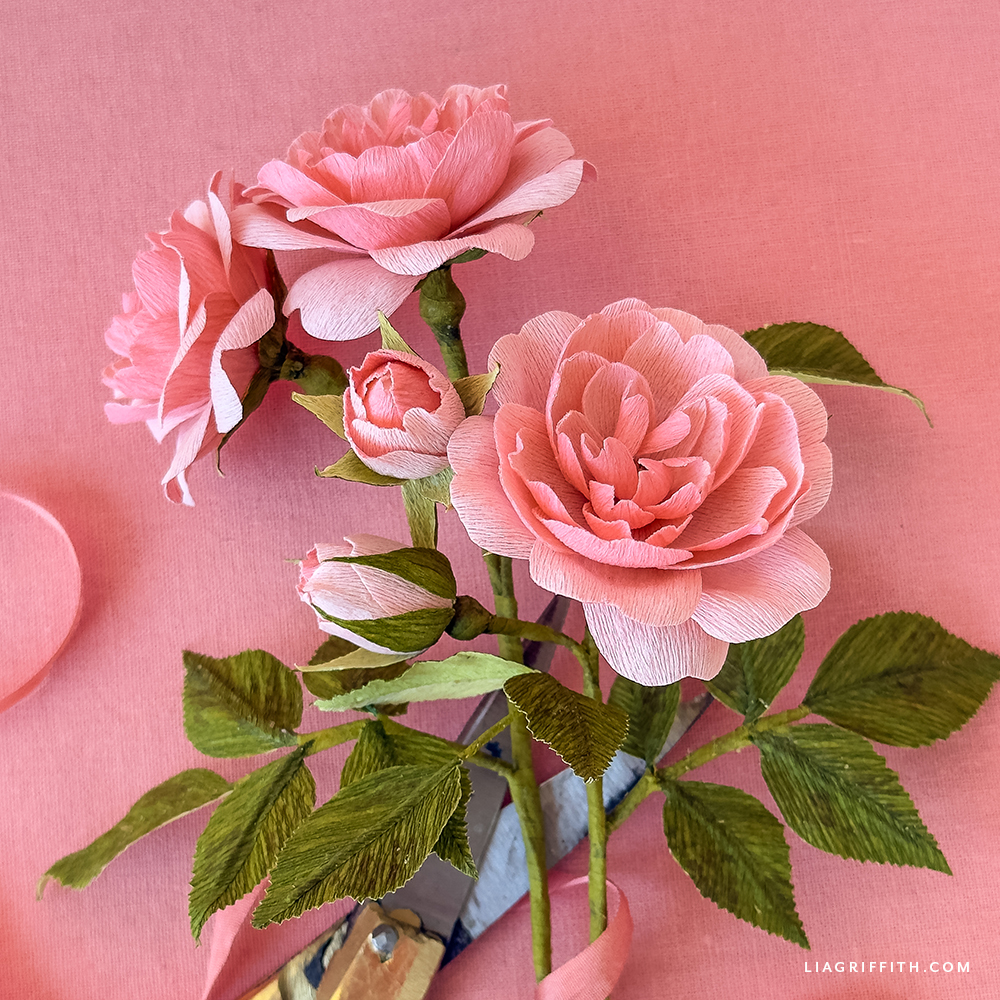
Double-sided crepe is our favorite paper. It has a velvet texture and it holds its shape better than anything else we work with. We sell a whole range of colors, milled for us in Germany by Werola alongside the rest of our crepe paper lineup. And I still make my own. Here is why.
We want a different color combination. What Werola mills for us is a beautiful selection, and sometimes we are looking for something a bit different.
The same color on both sides gives you a new paper. This is the one crafters do not expect. Fuse two sheets of the same extra-fine together and you have not changed the color at all. You have changed the body. It is your favorite color with more substance under your fingers, which is exactly what some petals want.
It holds up. I want to be honest with you here, because we sell the German paper. In our experience a well-laminated sheet performs just as well as the double-sided we import. The technique is not a compromise. It is a beautiful addition.

What you need
- Two colors of extra-fine crepe paper, or two of the same color
- Lightweight fusible web (we have tested them all)
- A dry iron
- A thin piece of cotton as an ironing cloth, optional
The weight of the web matters more than anything else on this list. It has to be very thin and very lightweight, because that is what lets the finished sheet keep the stretch and mobility of the crepe. A heavier web will bond beautifully and leave you with a paper you cannot shape. The link above is the weight we use in the studio.
How to laminate crepe paper
The short version, in case you are standing at the ironing board.
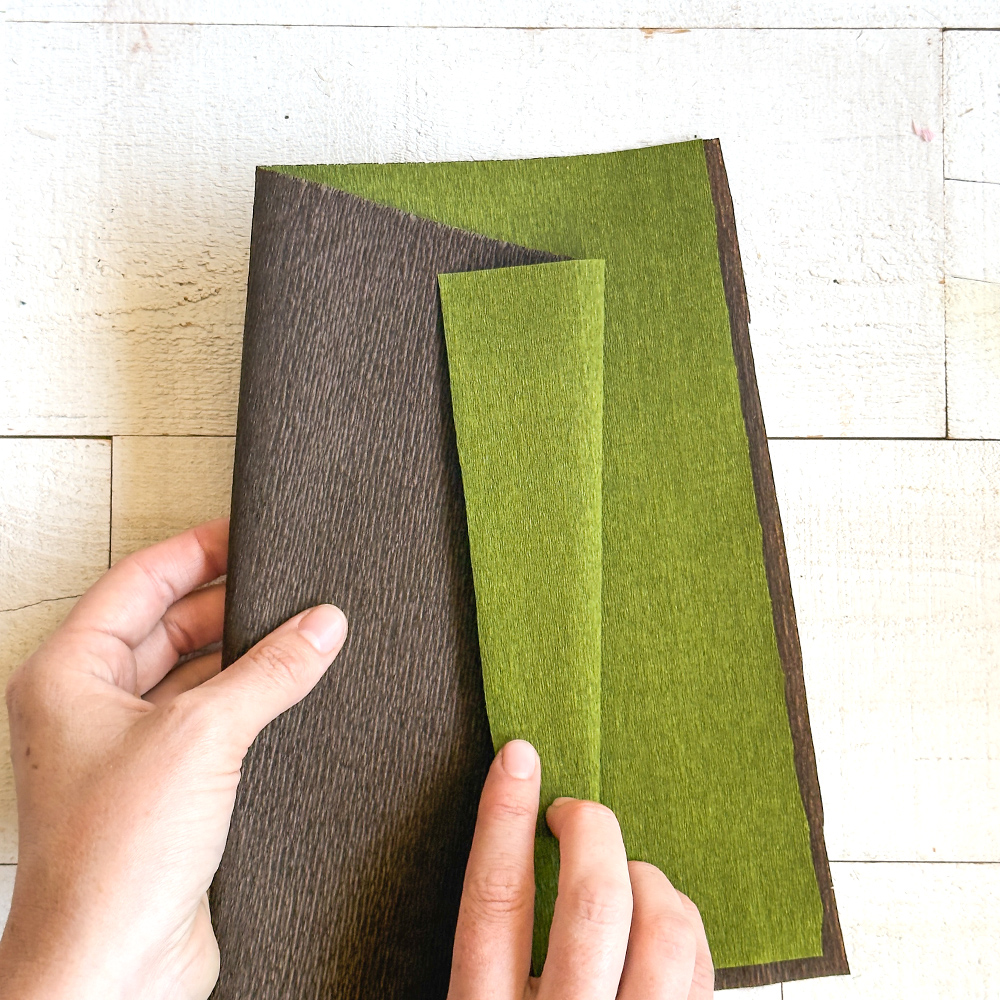
1. Match your grain. Lay your two sheets on top of each other with the grain lines running the same direction. The edges do not have to line up perfectly. You can trim them to length once they are stacked.
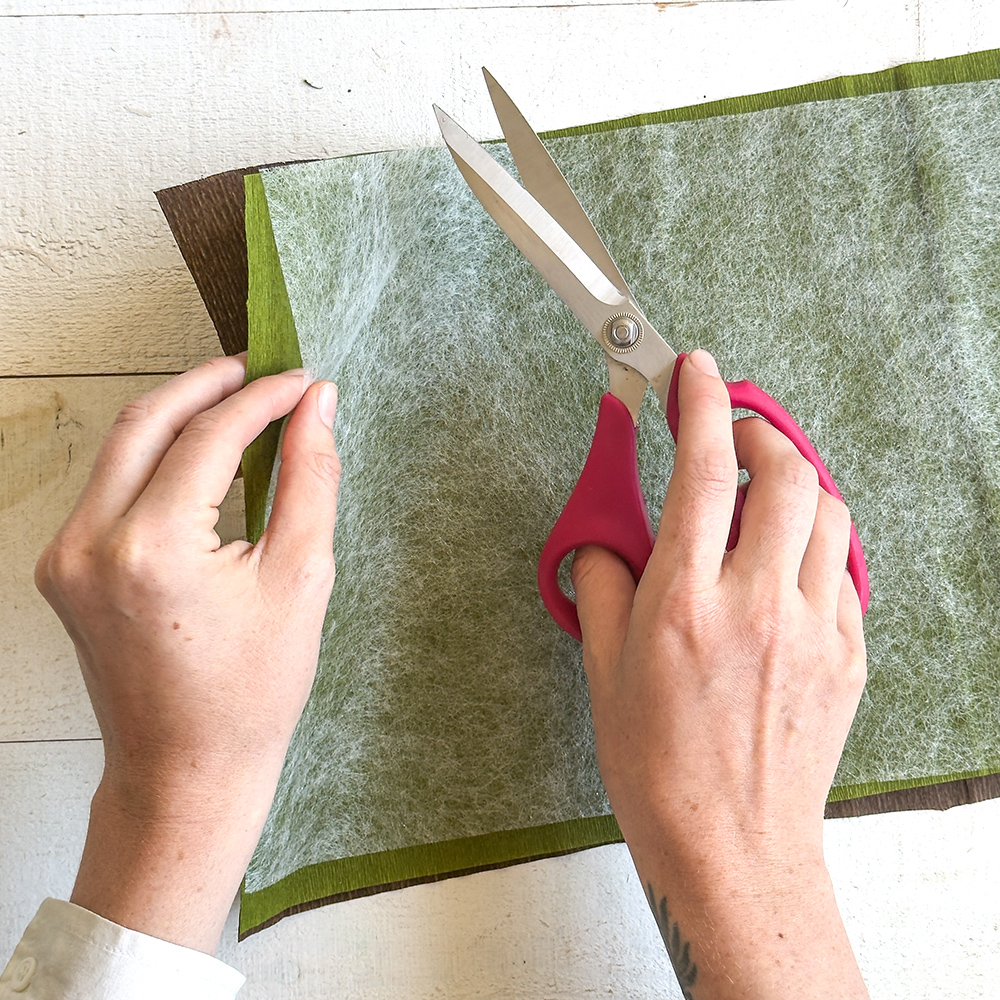
2. Trim the web smaller than the paper. Lay your fusible web on top and check every edge. You do not want any web hanging off the sides, because it will melt onto your iron and your ironing surface. Slightly smaller than the crepe is safer than exactly the same size.
3. Lay the second color over the top. Cover all of that web. Check the edges again.
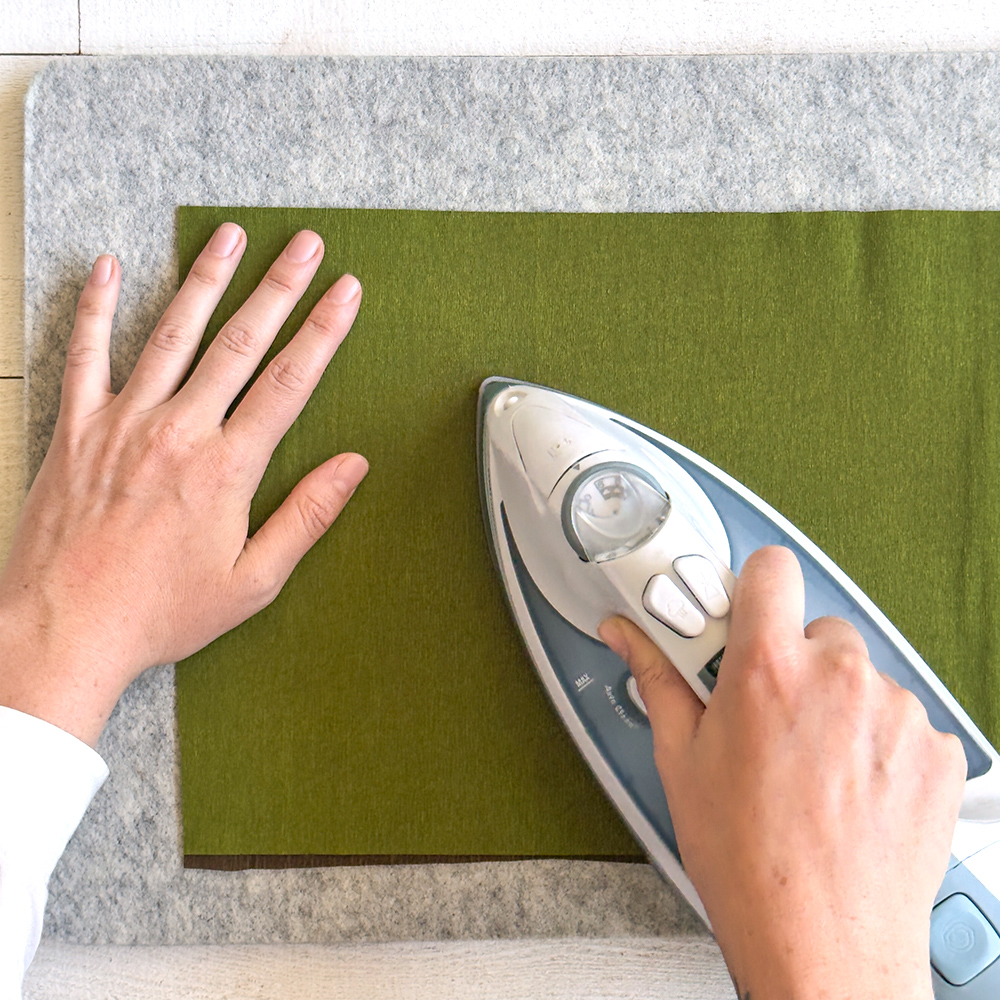
4. Set your iron to 360 degrees. Anywhere from 350 to 400 will work, but do not go under 350. The whole goal is melting that web completely and fusing it between the two papers, and it takes real heat to do it. No steam, no water. Water will destroy your crepe paper.
5. Press for 30 seconds, keeping the iron moving. Work in halves. Thirty seconds on one side, thirty seconds on the other, and keep the iron traveling across the surface the entire time rather than resting in one place.
If ironing straight onto the crepe makes you nervous, lay a thin piece of cotton over the top as a buffer. You can put one under it on your mat as well.
6. Check it, and go back if you need to. Some sections will bond before others. That is normal. Give the shy spots another 30 seconds. Extra heat is not the enemy here.
7. Set it aside to cool. Then test the edge. It should not pull apart, even where the web did not quite reach, and the sheet should still have body and stretch when you work it.
Four things that go wrong
You went under 350 degrees. This is the most common one. The web needs high heat to melt fully, and a low iron gives you a sheet that separates later.
You used steam. Water and crepe paper do not mix. Dry heat only.
Your web hung off the edge. Now it is on your iron. Trim first, every time.
You used a heavy fusible web. It will bond, but you will lose the stretch that makes crepe worth working with. Lightweight is not a preference, it is the requirement.
Cutting laminated crepe on your Cricut
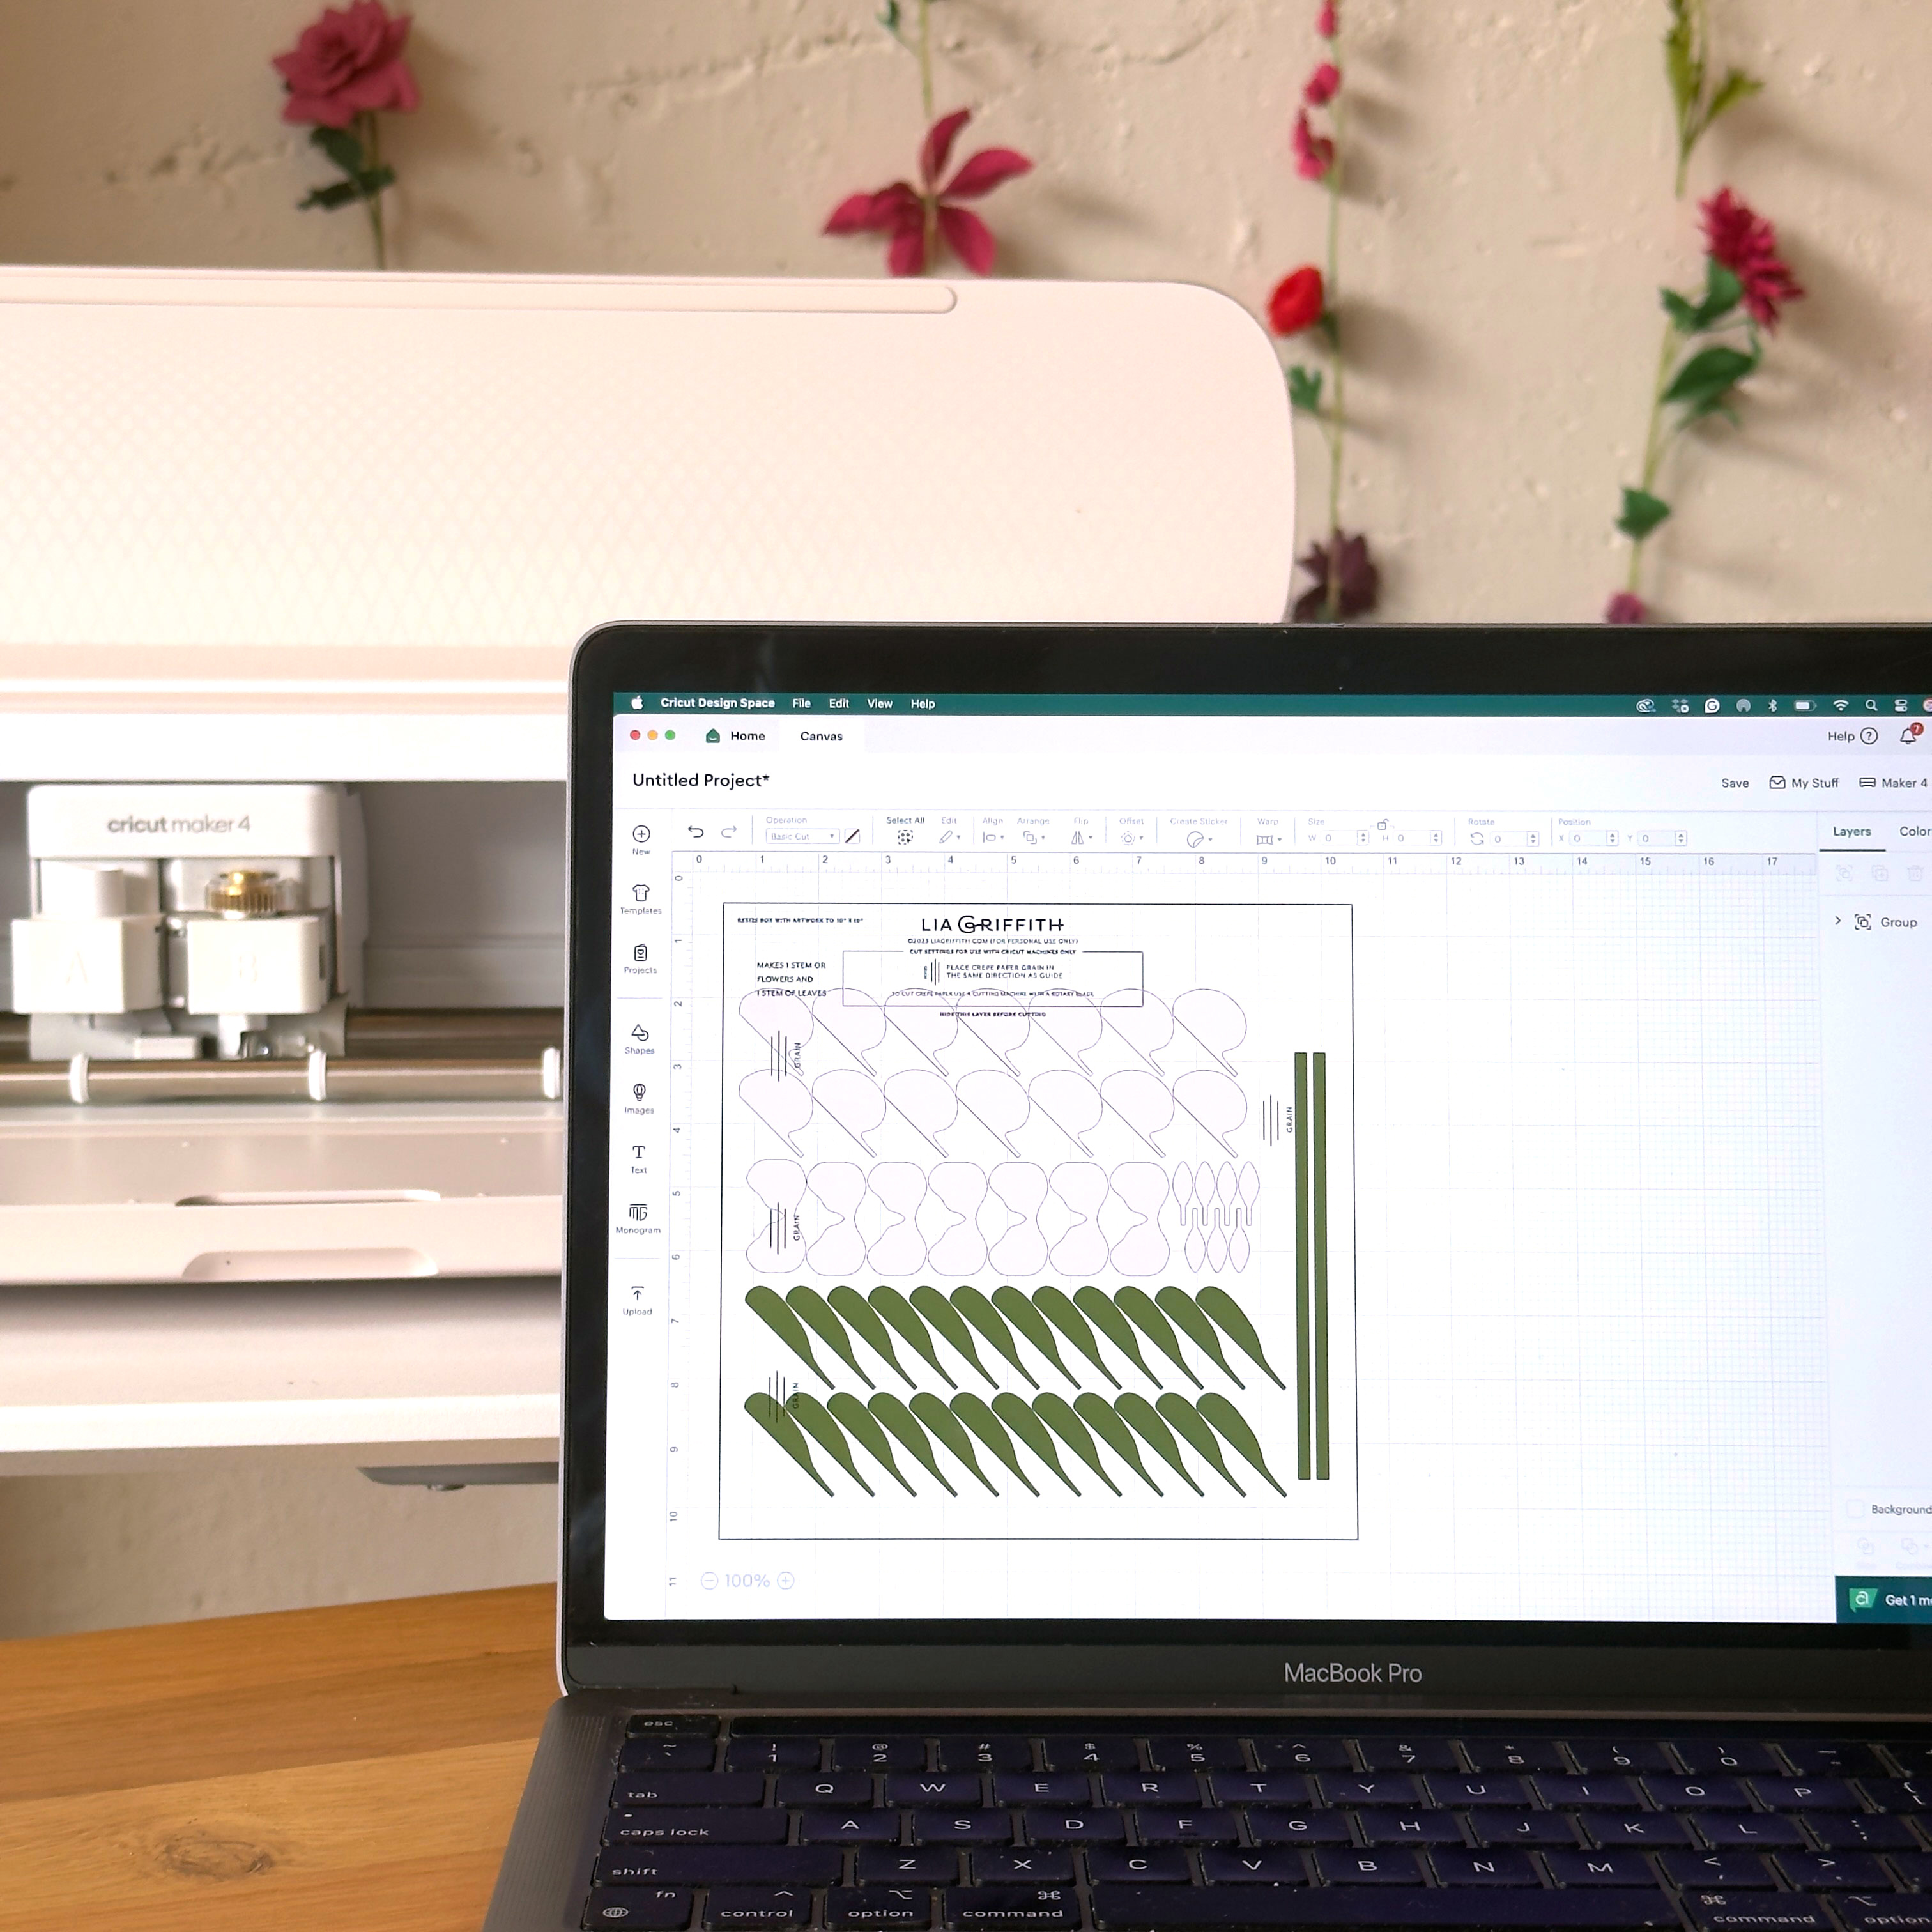
Here is the part that trips crafters up. Laminated crepe is not extra-fine crepe anymore. You have made double-sided crepe, so cut it like double-sided crepe.
| Paper | Setting | Pressure |
|---|---|---|
| Extra-fine crepe | Crepe Paper | Default to More |
| Double-sided and laminated crepe | Cotton | Default to More |
| Heavy crepe | Denim or Cotton | More |
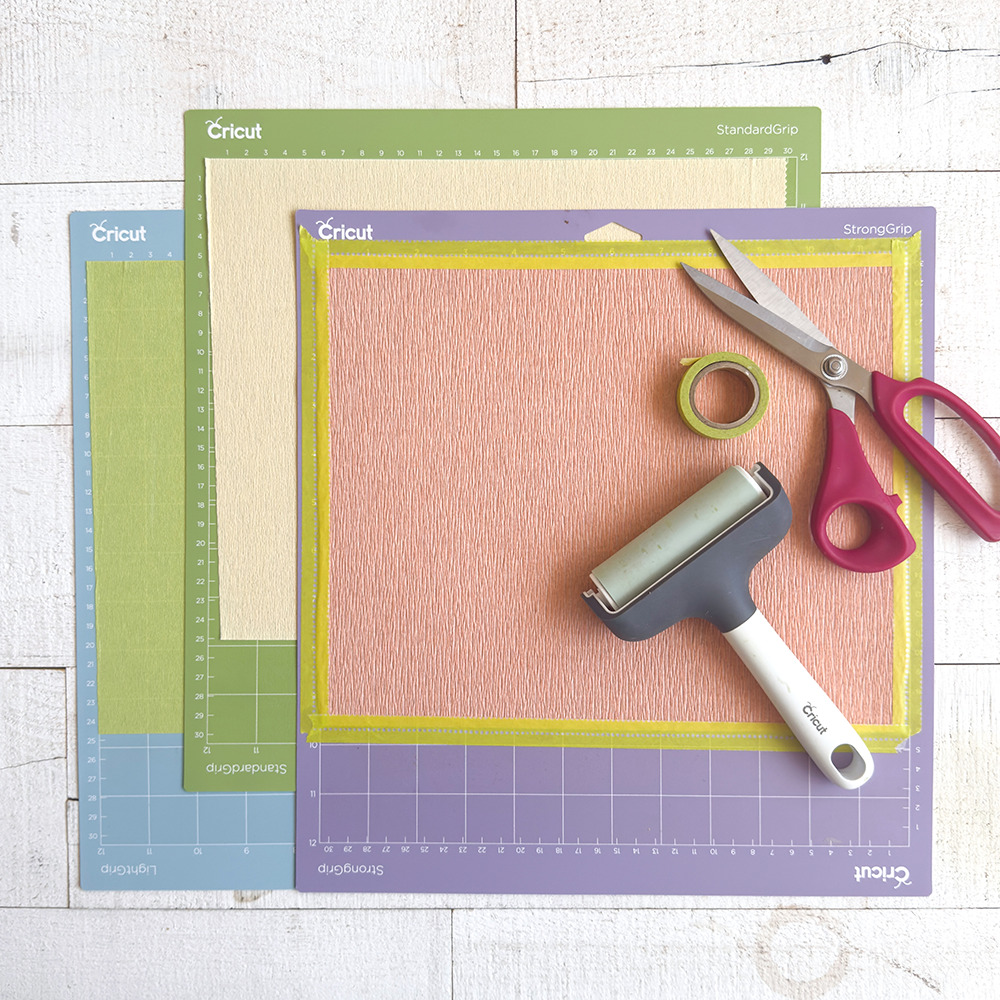
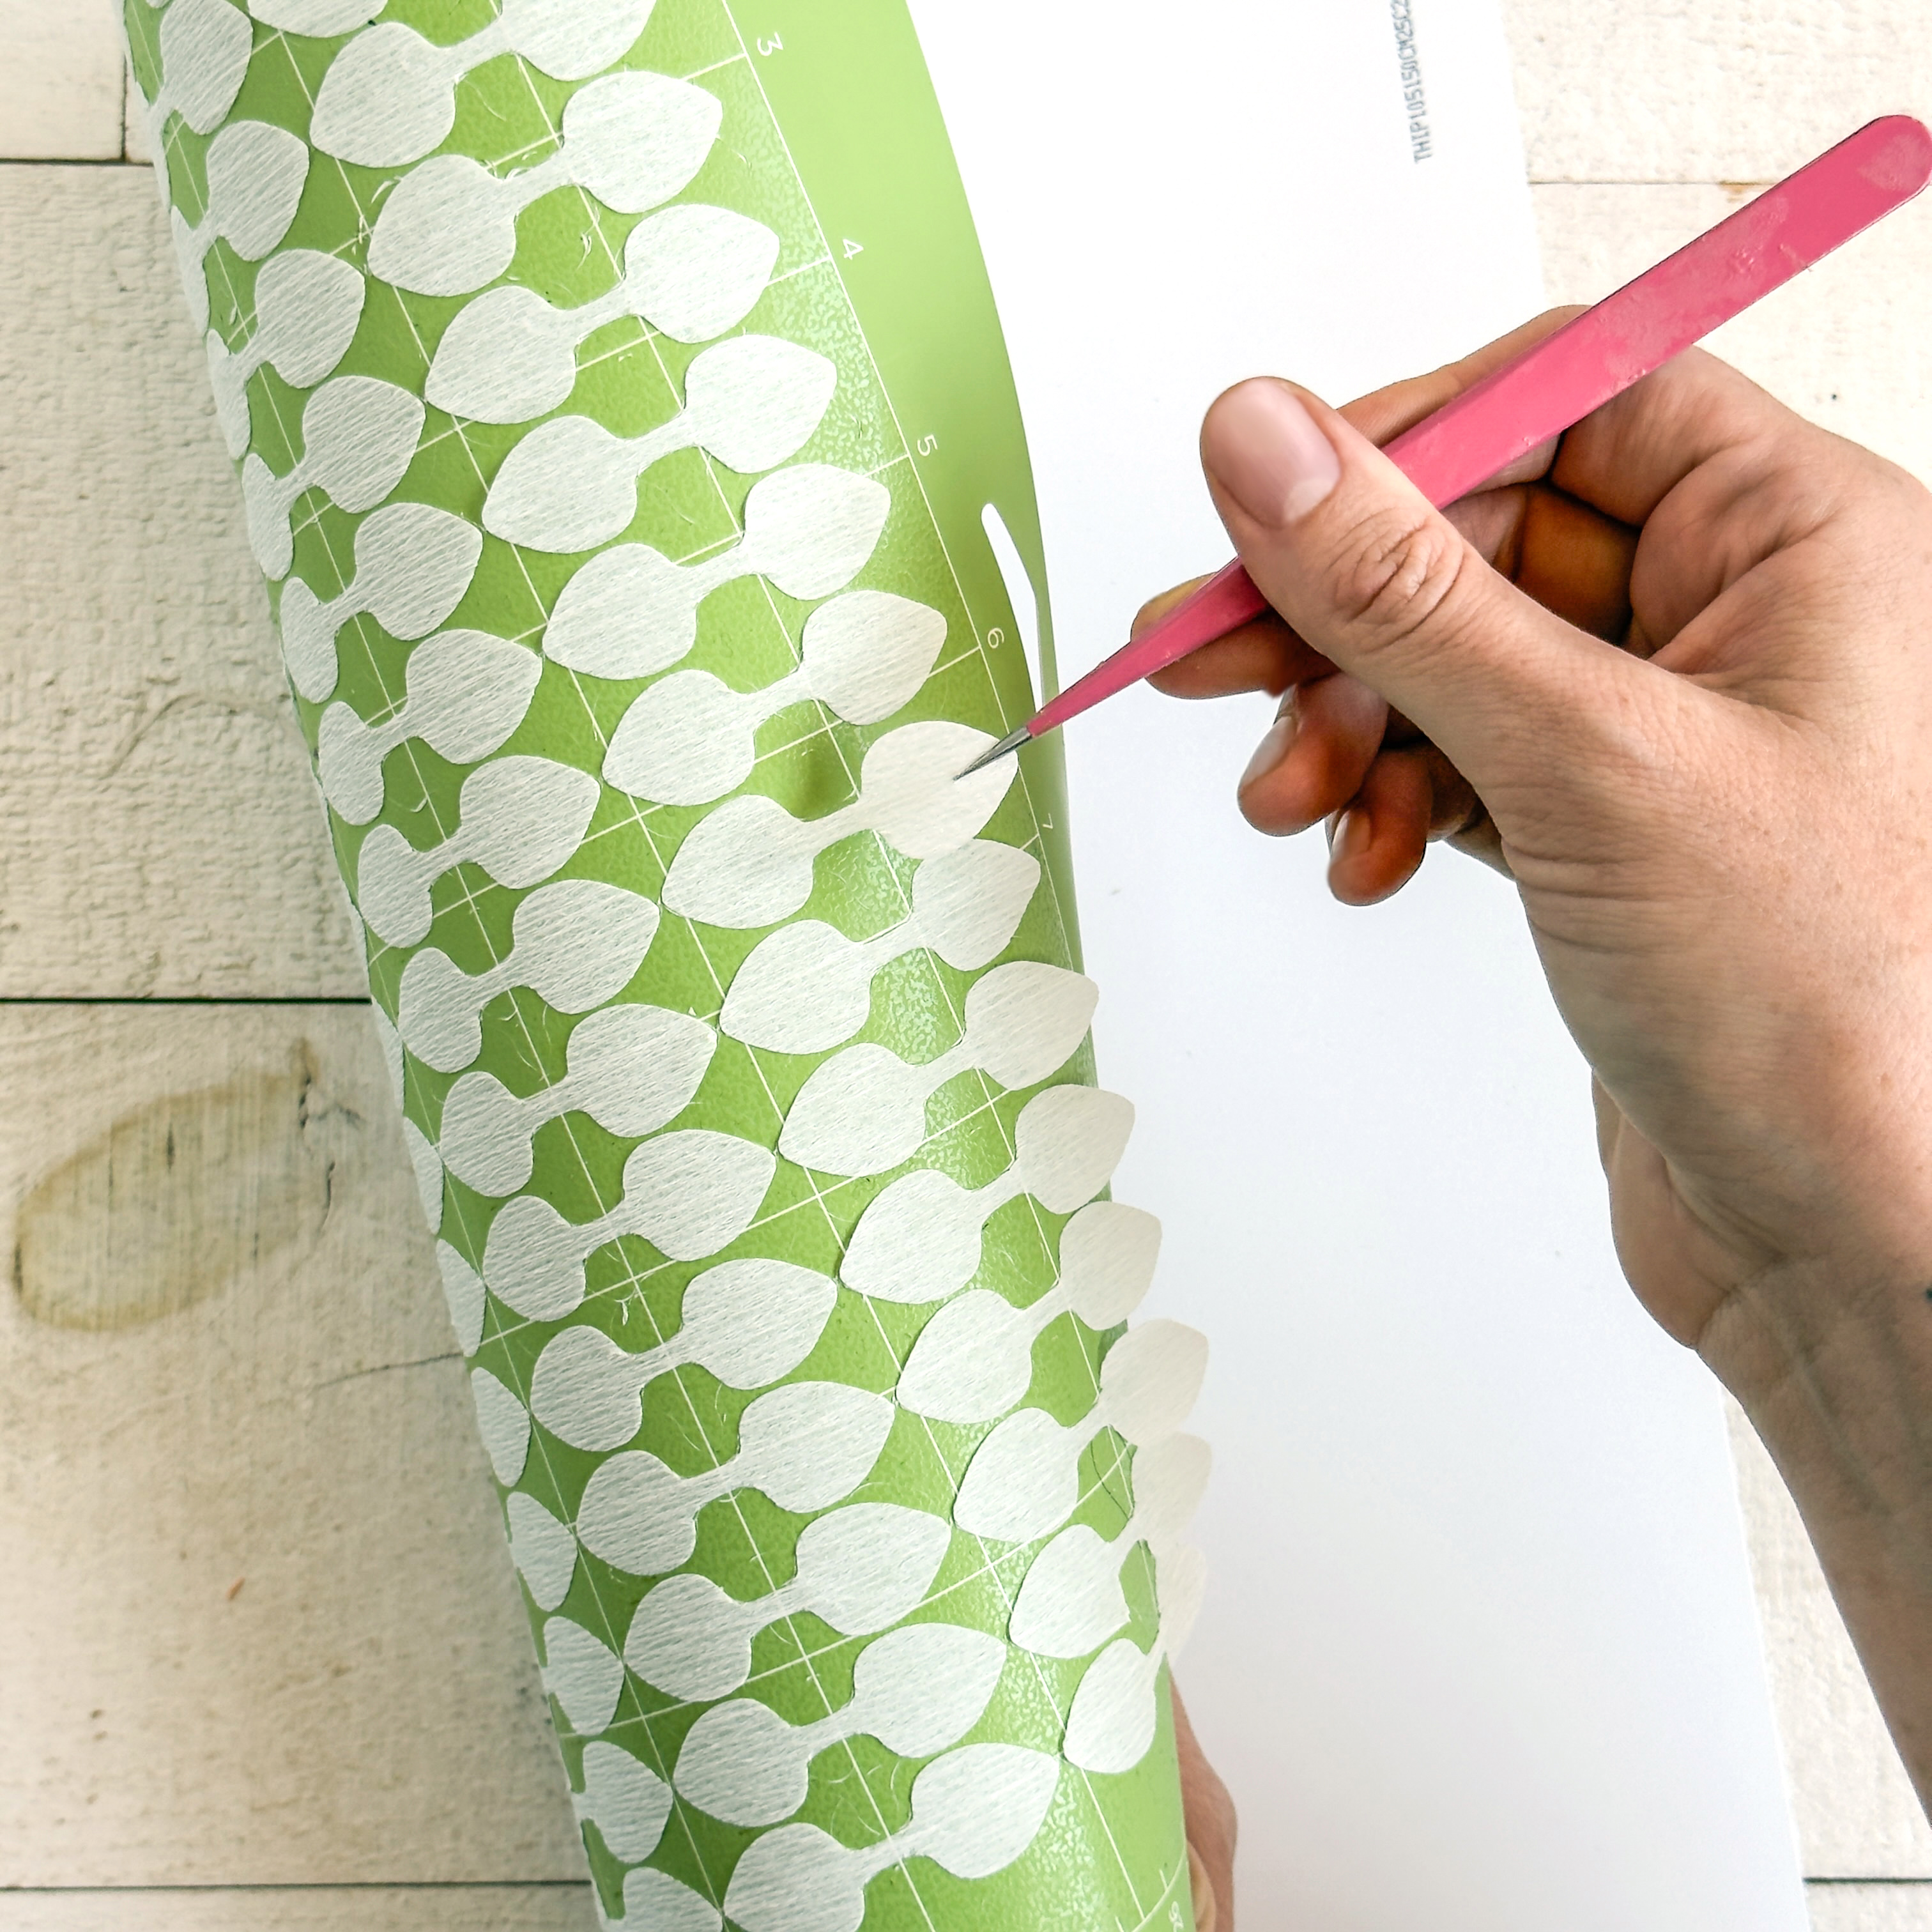
Rotary blade, every time. The fine point blade drags and tears the fibers. Use the pink fabric mat, and note that crepe paper cuts on the Cricut Maker family only, because the rotary blade is a Maker tool.
Grain direction still matters here as much as it did at the iron. Lay the sheet the way the design calls for, or your petals will not cup.
These settings vary by machine, blade wear, and software updates, so test cut a small area before you commit a full mat.
See the full cutting chart › for every material we cut, or print the crepe paper cheat sheet from the Cricut Maker Foundation Series.
Cutting by hand
No machine? You do not need one. Laminated crepe hand cuts beautifully at up to four layers at a time. Extra-fine takes four to six, heavy crepe two to three. A good pair of scissors and you are ready to make a flower.
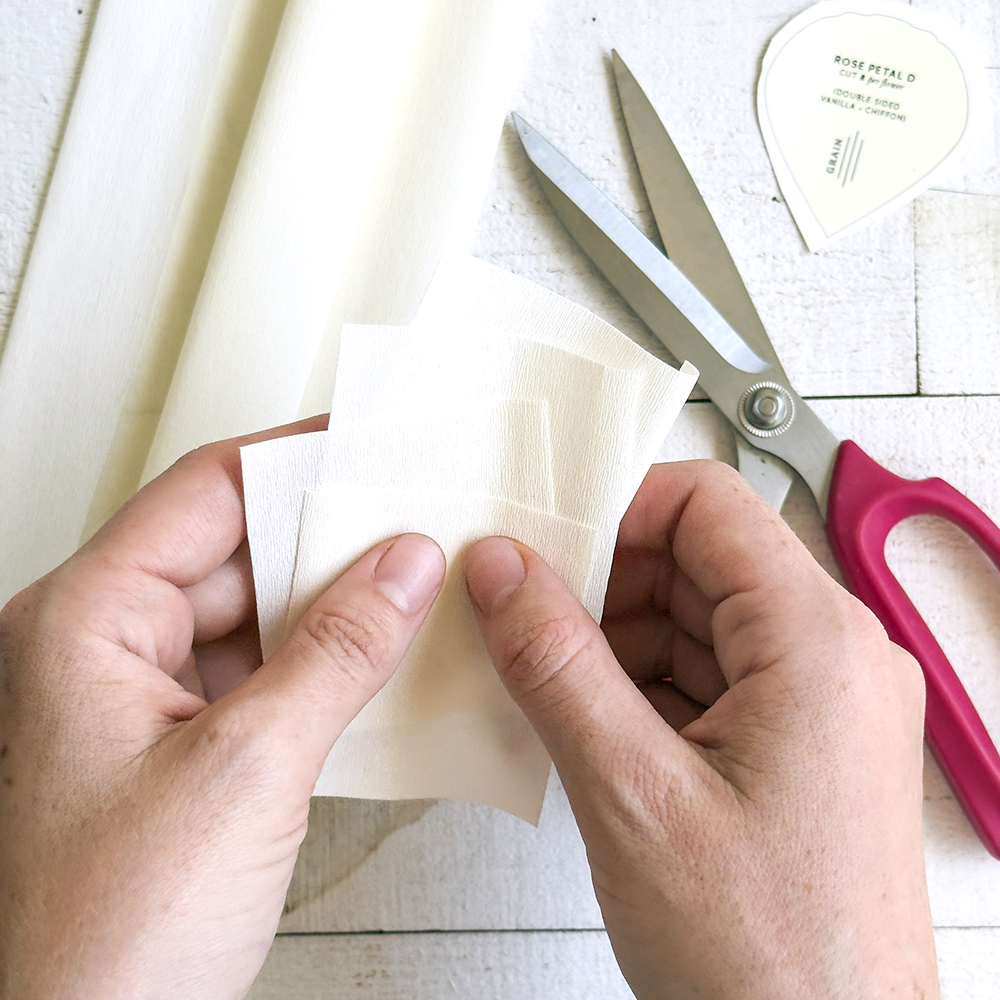
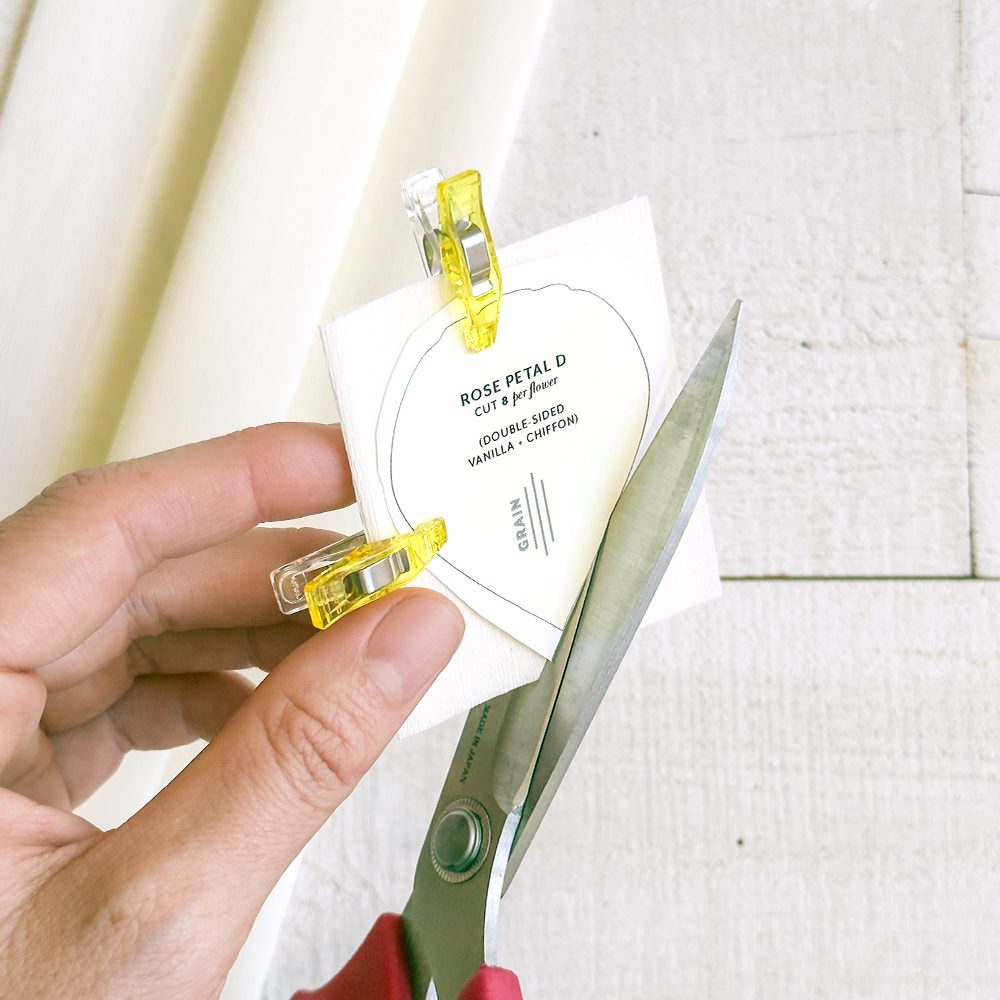
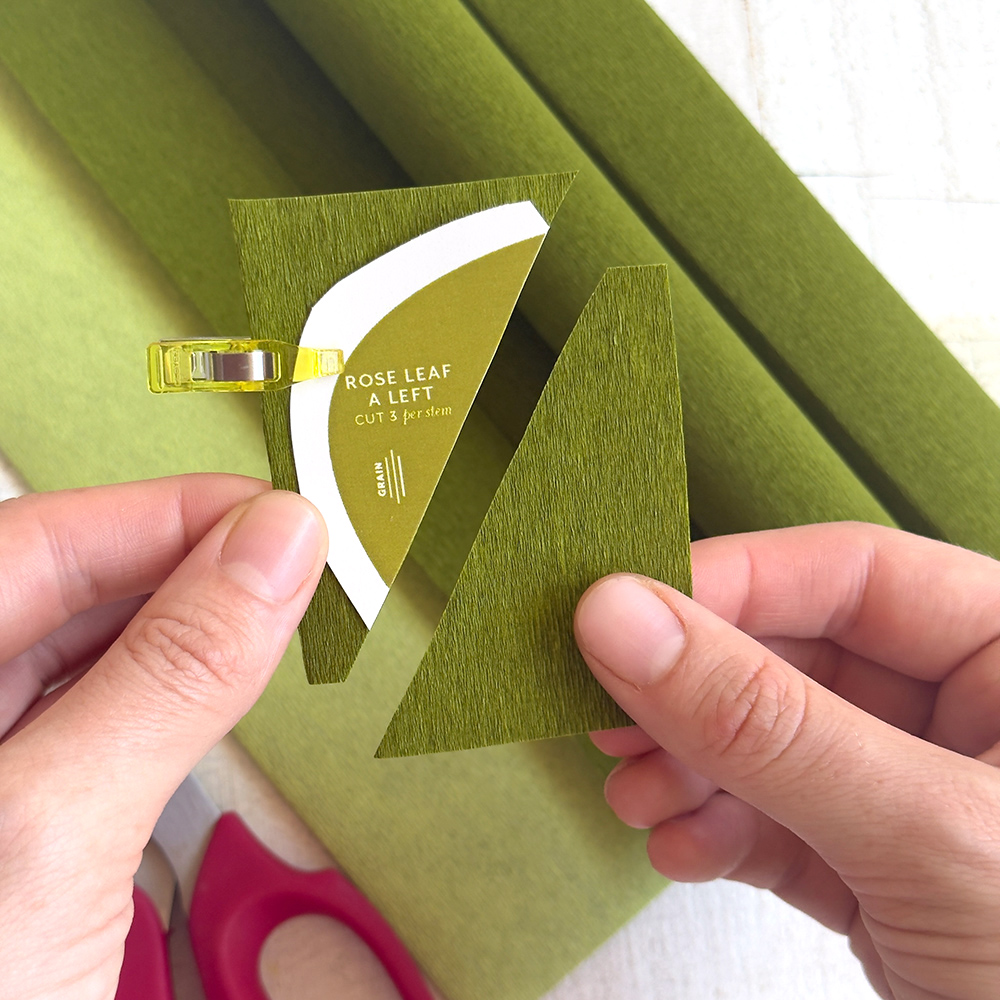
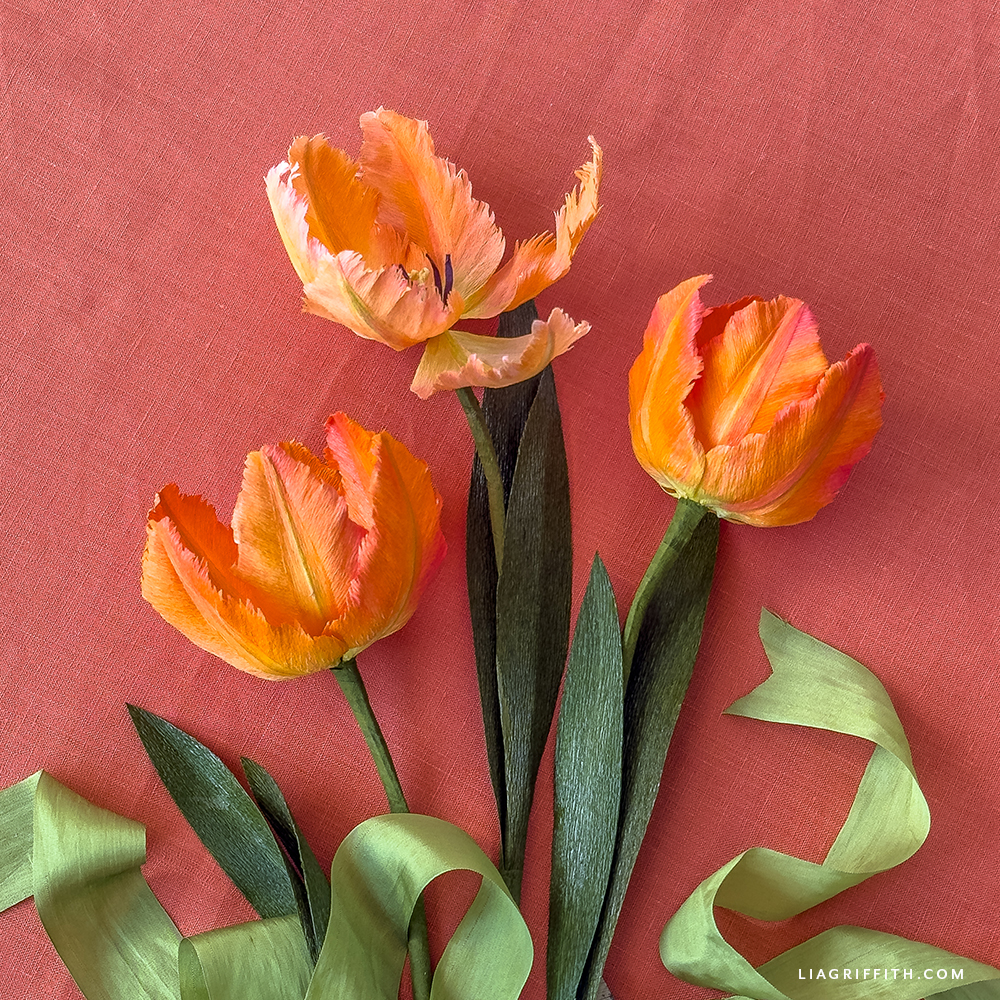
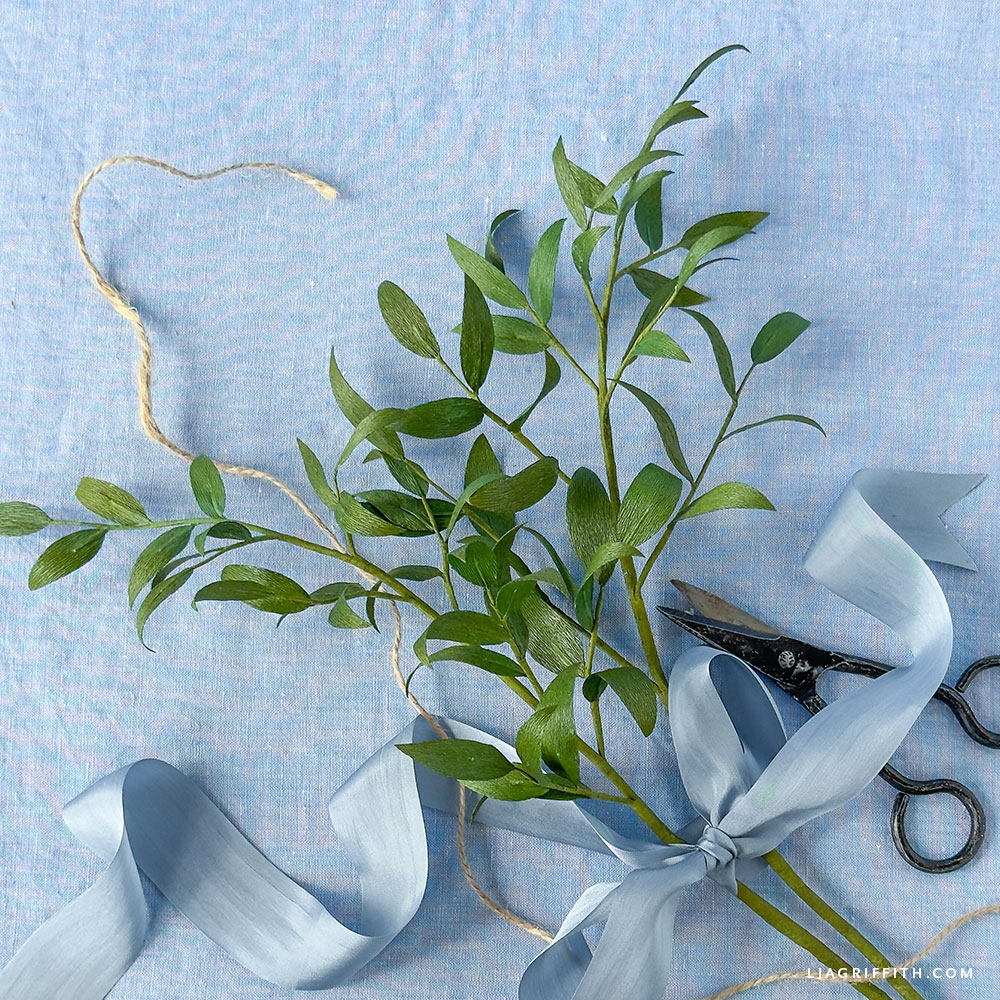
Double-sided is perfect for a Mod Podge finish
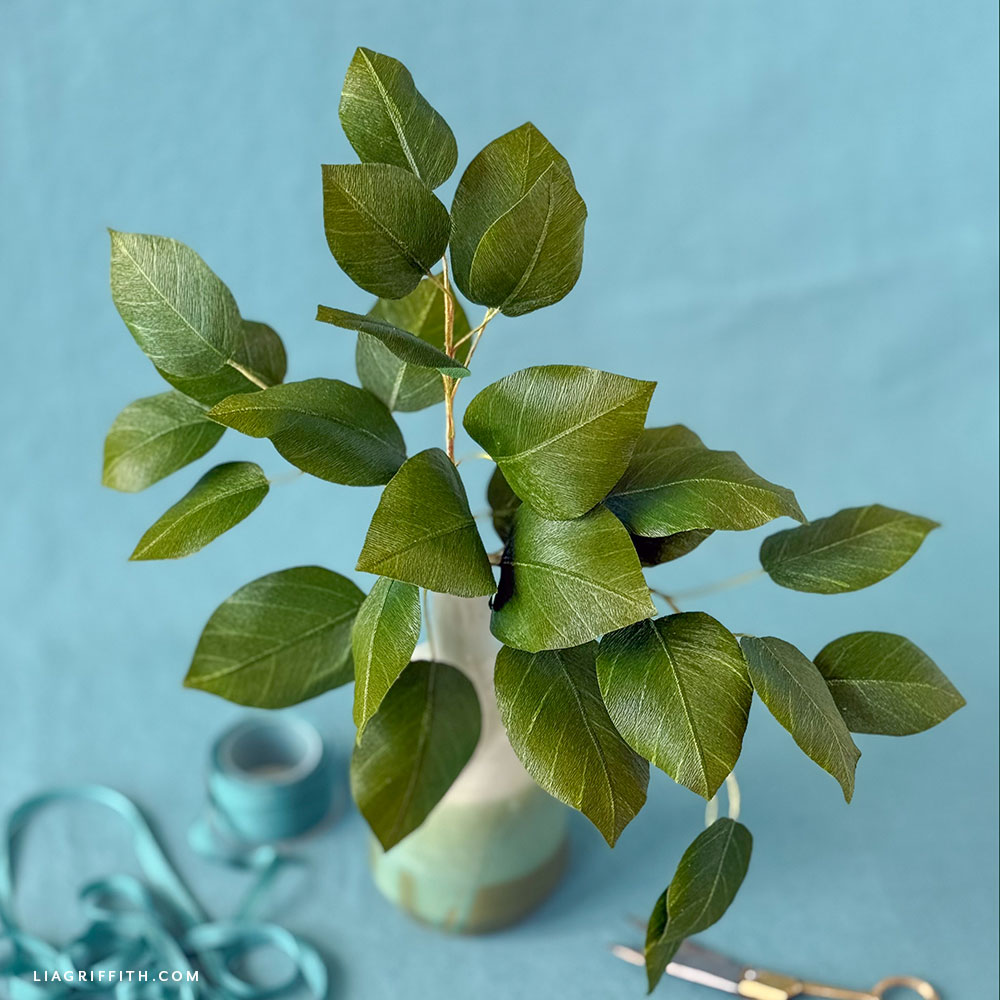
One of our favorite techniques is finishing double-sided crepe with Mod Podge. We use it on foliage and on some of the flowers. Double-sided crepe is the only paper of the three types we use that works with this finish. You can learn more about how to apply Mod Podge in our full Crepe Paper Foundation Series.
Questions we get
What temperature should my iron be for laminating crepe paper? We set ours to 360 degrees. Anywhere from 350 to 400 works, but do not go below 350 or the fusible web will not melt completely. Dry heat only, no steam.
How long do I iron each section? Thirty seconds per half, with the iron moving the whole time. Go back over any section that did not bond and give it another 30 seconds.
What can I use instead of fusible web? Stitch witchery, or any lightweight fusible webbing from a fabric store. Skip the heavy-duty weights. They bond fine and leave you with a paper too stiff to shape.
Can I use spray adhesive? You can, and some crafters prefer it. It gives a softer hand and lets you color the paper afterward. It is also messier, a bit toxic and less permanent. We always use fusible web in the studio.
Does this work with heavy crepe? No. Heavy crepe is toothy and thick. If you were to completely stretch the heavy crepe, you might be able to get it to bond, but then you have lost all of the stretch. Extra-fine is what this technique is built for.
Can I iron crepe paper to get the wrinkles out? Yes, and it works beautifully on extra-fine and double-sided. If you want to iron heavy crepe, just the iron lightly to not flatten the thicker crepe folds.
Can I laminate two sheets of the same color? Yes, and it is one of my favorite things to do. You keep the color and gain body, which turns your extra-fine into something that will shape beautifully.
Can I cut laminated crepe on a cutting machine? Yes. Use the Cotton setting with the rotary blade, the same as our double-sided crepe, because that is effectively what you have made.
Can I hand cut laminated crepe? Yes, up to about four layers at a time. You do not need a machine for any of this.
Learn all of the tips and tricks for crepe paper flower making
Lamination is one technique. Our Crepe Paper Flower Foundation Series is all of them. Stretching, cupping, coloring, wiring, curling, arranging. Every studio method Meagan and I have refined over ten years, in short videos you can come back and review any time.
It is free for everyone. No membership needed.
Better Than Pinterest
Become a member and get instant access to a professional collection of 2000+ crafts, 400+ videos, and a growing library of master classes for all skill levels. For less than your daily coffee, you'll learn new skills and techniques, create beautiful handmade projects like this, and join a community of crafters just like you! Spend less time searching, more time crafting. It's better than Pinterest, promise. 😉
Become a Member
Discussion
Ask Lia or the community!
24 Comments
-

Gail
July 3, 2026 at 3:44pm
-

Lia
July 4, 2026 at 5:56pm
@Gail
-

Gracemarie
April 30, 2026 at 6:12pm
-

Lia
May 1, 2026 at 8:38am
@Gracemarie
-

Desiree
October 13, 2022 at 5:56pm
-

Lia
October 14, 2022 at 8:48am
@Desiree
-

Helene
April 9, 2022 at 11:30am
-

Lia
April 10, 2022 at 12:26pm
@Helene
-

Rebecca
February 17, 2021 at 11:17am
-

Lia
February 17, 2021 at 11:29am
@Rebecca
-

Leonora
November 16, 2019 at 9:41am
-

Lia
November 21, 2019 at 8:55am
@Leonora
-

Teena
March 13, 2019 at 11:06pm
-

Lia
March 14, 2019 at 8:01am
@Teena
-

Cielo
August 4, 2018 at 2:27pm
-

Lia
August 7, 2018 at 9:06am
@Cielo
-

Janice
April 4, 2018 at 7:44pm
-

Lia
April 6, 2018 at 12:47pm
@Janice
-

Ruzen
October 5, 2017 at 5:56am
-

Lia
October 5, 2017 at 1:55pm
@Ruzen
-

Ruzen
October 7, 2017 at 4:46am
@Lia
-

Lia
October 9, 2017 at 9:08am
@Ruzen
-

margaret
September 11, 2017 at 5:35pm
-

Lia
September 12, 2017 at 8:57am
@margaret
Leave a CommentIf we buy Stich Witchery, do you recommend the light, medium, or heavy weight fusible web?
We recommend that you buy this one. We have tested it and know it works. 🙂 https://feltpaperscissors.com/product/lia-griffith-fusible-web-1-sheet/
But if you want to buy that brand, definitely get the lightest. It has been a while since I have used it, so I can not guarantee it.
Do you have instructions on fusing with a Cricut heat press??
https://liagriffith.com/tips-tricks-for-lamination-and-diy-double-sided-crepe-paper/
That is a newer video, and we also have another coming later this month in our crepe paper foundations course. That will be accompanied by a printable cheat sheet.
Was looking for White Magnolias for Christmas and LOVE this video. Can’t wait to try.
Wonderful! We have some gorgeous white magnolias too.
Hi Lia, you mention in the video that there is a link “below” where we can get, I believe, the 26 gauge wire. I just could not find this link. I’d love to get it. Thanks.
Hi Helene. We sell 24-gauge wire in our shop now rather than the 26. It was very difficult to source, so we started importing ourselves. Here is a link. https://feltpaperscissors.com/product-category/floral-wire/
Also, we have an updated video for this technique you might find interesting. https://liagriffith.com/craft-academy/tips-for-diy-double-sided-crepe-paper/
I loved the tutorial.So easy to understand with the step by step instructions.Thank you.
I’m so glad it was helpful!
Can the diy crepe paper leaves be cut on cricut maker. Love making flowers but have difficulty hand cutting the patterns.
thanks,
Lennie
Hi Leonora,
We have not tried cutting DIY double sided on the Cricut! However, if you use the “Cotton Denim” setting with the rotary blade and be sure to press the crepe into the mat using your scraper or brayer we don’t think you should have any issues.
Hi
I just bought the Cricut Easy press. Do you have my suggestions for the temperature setting. I have looked all over the internet and couldn’t find anything.
Hi! The temperature setting all depends on the type and brand of vinyl you’re using, and the kind of material you’re ironing on to. Cricut has a helpful guide here: https://home.cricut.com/easypress-heat-settings-guide
Please what it’s the name of the transparent paper between of the crepe papers, thanks
Fusible interfacing, or “stitch witch”!
I have recently learned how to make the crepe paper flowers and just love it. I plan to teach a basic class to a few Master Gardeners that are interested. I was wondering if you have plans to make an azalea bloom. They are so beautiful now in the spring. I tried cutting one to see if I could break it down and make a pattern but its a bit daunting. conical at base and then breaks into 5 petals. Sure hope you do.
Hi Janice! Great suggestion, I’ll add it to our list 🙂
Thank you for this tutorial! I was wondering if you know which style of the Pellon brand interface is equivalent is to the stitch witchery that you use in your tutorial? I have a Joanns near by and would like to try it out. Thanks!
We love the brand Heat N Bond!
Thanks! So would Heat’n Bond Lightweight Iron-On Fusible Interfacing be good?
Yes I believe that will work!
Thanks for your instructions and inspiration. I’m in my 70’s, retired and just starting to make crepe paper flowers. I love your gardenia and magnolia. Do you have a pattern/instructions for orchid?
Thanks
Margaret
How wonderful! Yes, we have a crepe paper orchid here (https://liagriffith.com/diy-crepe-paper-orchid/) and how to make it into a plant here (https://liagriffith.com/potted-paper-orchid-crepe/).
Back to the Top