
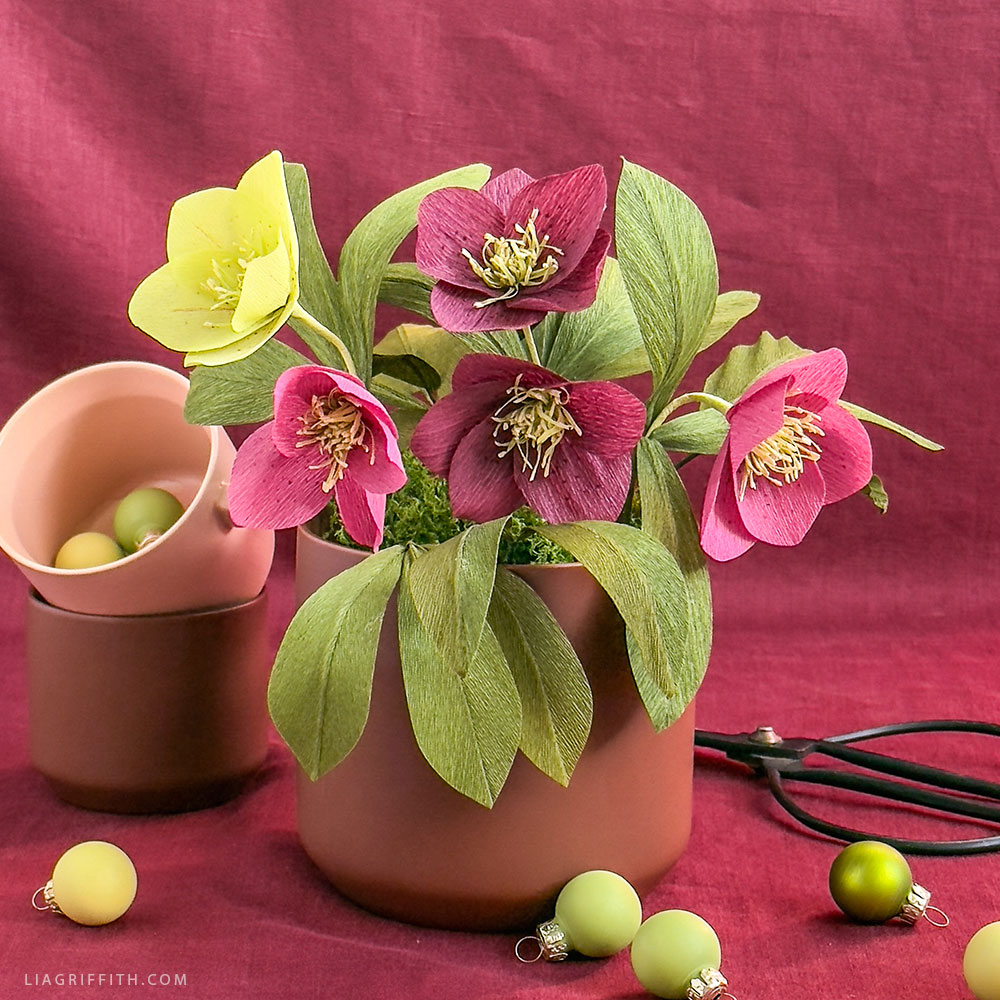
Head Over Hellebore
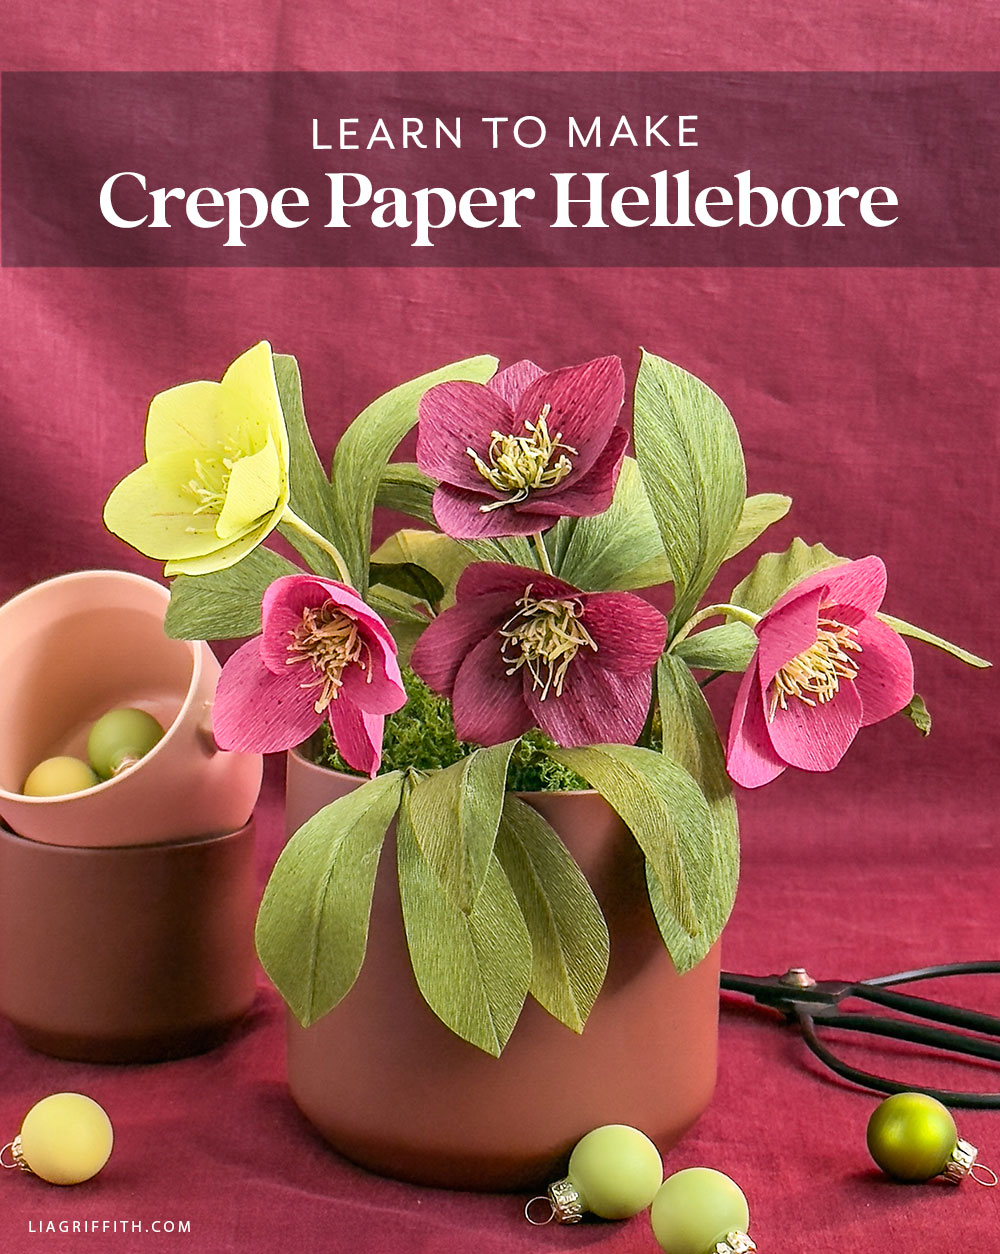
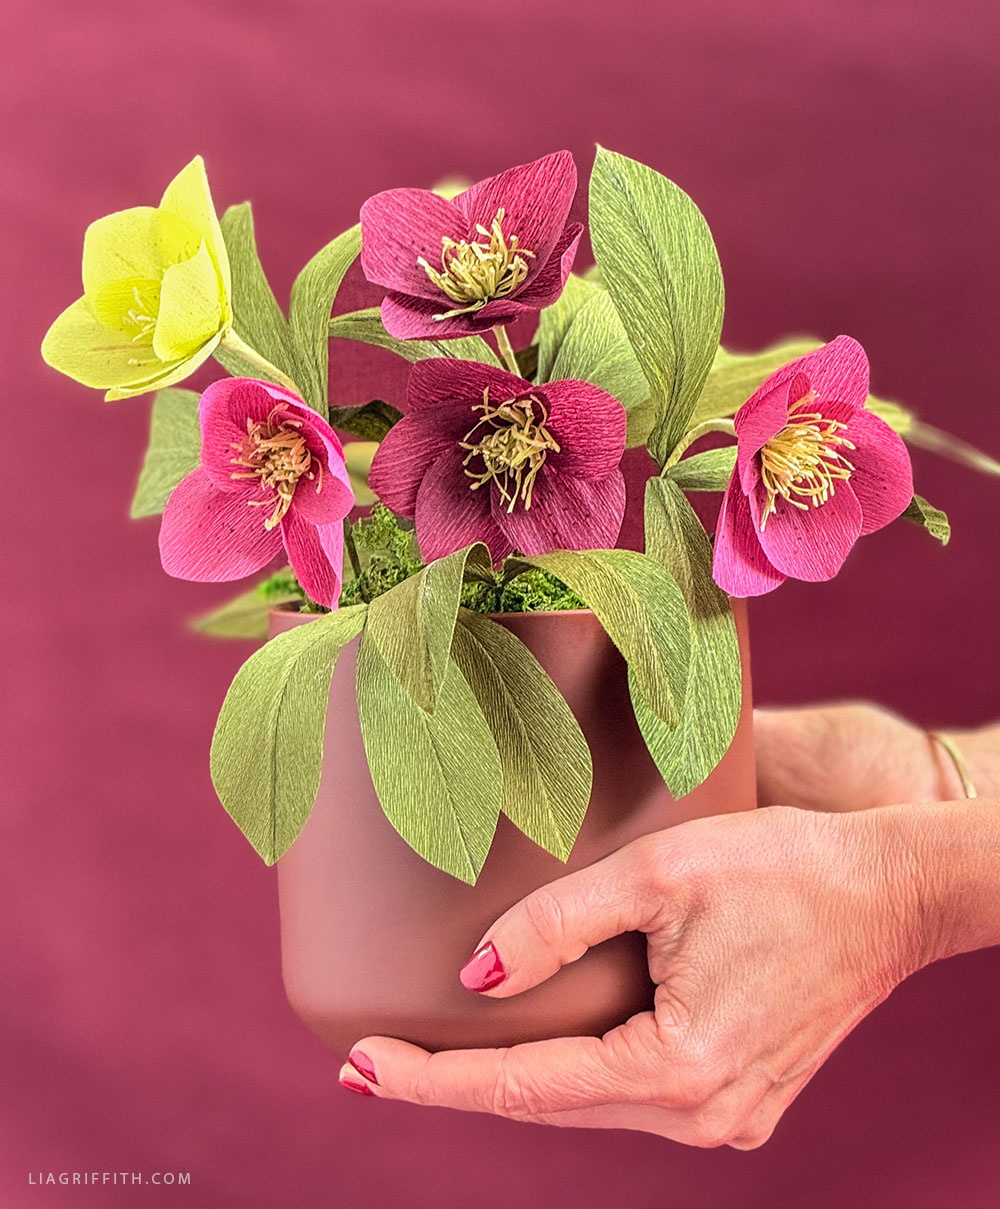
Say hello to these stunning and simple-to-craft Crepe Paper Hellebores! Elegant, delicate, and the epitome of winter charm — this project is an excellent introduction to paper florals. These make a lovely addition to your holiday décor, and with our easy-to-follow tutorial, you can filll your home with their soft, sculptural beauty in no time!
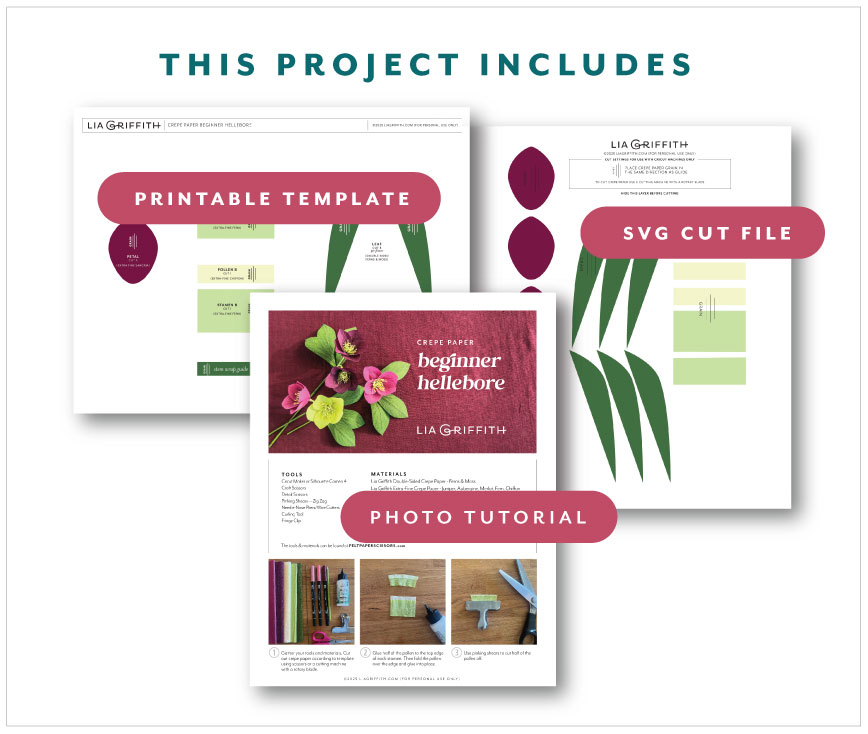
Project Includes
Tutorial & TemplatesTools
Materials
- Lia Griffith Double-Sided Crepe Paper - Ferns & Moss
- Lia Griffith Extra-Fine Crepe Paper - Juniper, Aubergine, Merlot, Fern, Chiffon
- Floral Wire - 24-Gauge Paper Covered Green
- Floral Wire - 18-Gauge Paper Covered Green
- Tombow Brush Markers - 772, 757, 817
- Colored Pencils – Chartruse
- Bearly Art Precision Craft Glue - 2oz
Goodies You Can't Google
You've found a premium project. But for less than the price of a fancy coffee... You'll get instant access to this and over 2,000 other premium projects inside the Lia Griffith membership!
Become a Member
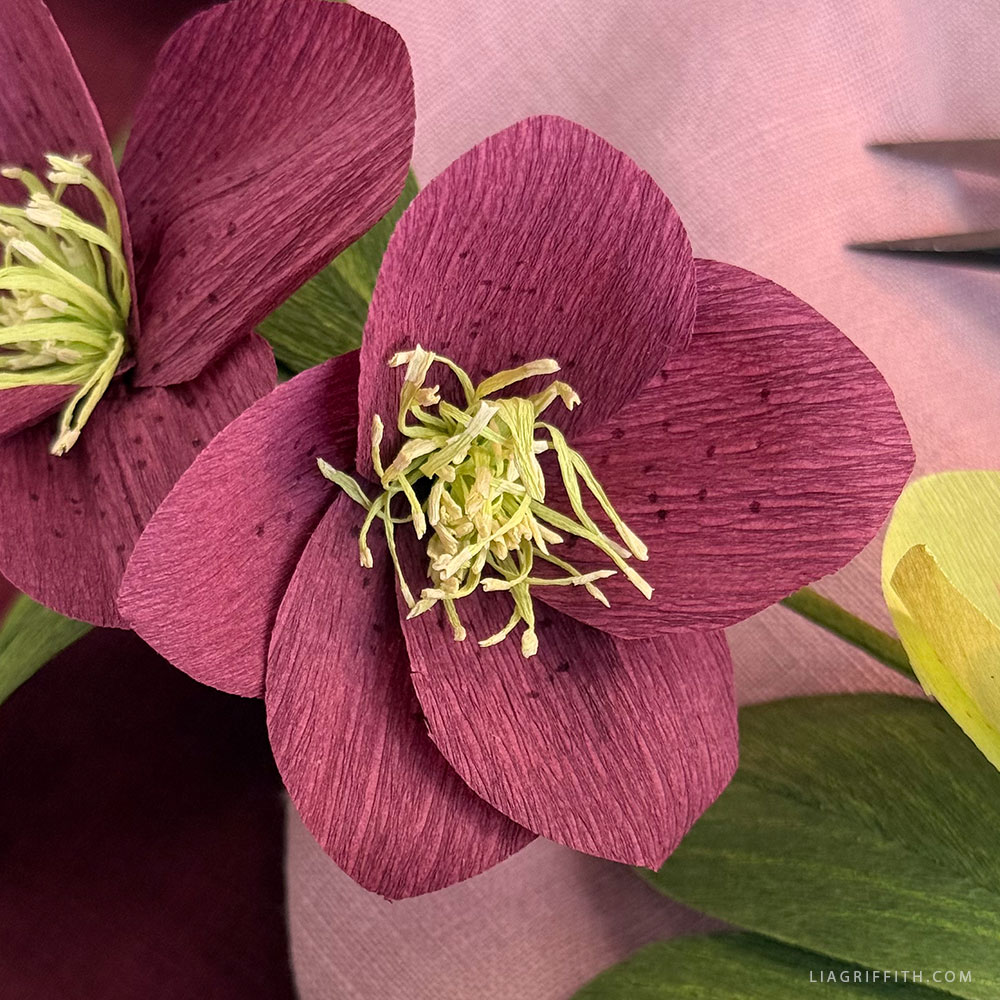
As a beginner project, we've designed these Crepe Paper Hellebores to be approachable and enjoyable from the very first cut. Following our guide, you’ll shape your petals, curl them gently to create that signature hellebore form, and attach them to floral wire. Due to its simplicity, this is a wonderful make for anyone looking to grow their confidence with crepe paper while creating a stunning piece for your home.
If you’ve crafted any of our other hellebore-inspired projects — like the Layered Watercolor Hellebore Artwork, Felt Hellebore, and our Paper Hellebore Winter Wreath — you’ll find that this version keeps things refreshingly simple while still giving you beautifully realistic results.
Hellebores, or the "Christmas Rose," carry a long tradition of seasonal symbolism. For instance, this beloved flower is often associated with tranquility, elegance, and renewal after the long, dark winter. Despite their name, hellebores are not true roses, but their graceful shape and midwinter bloom earned them a place in holiday folklore. But their unique and timeless beauty earns them a place in our collection.
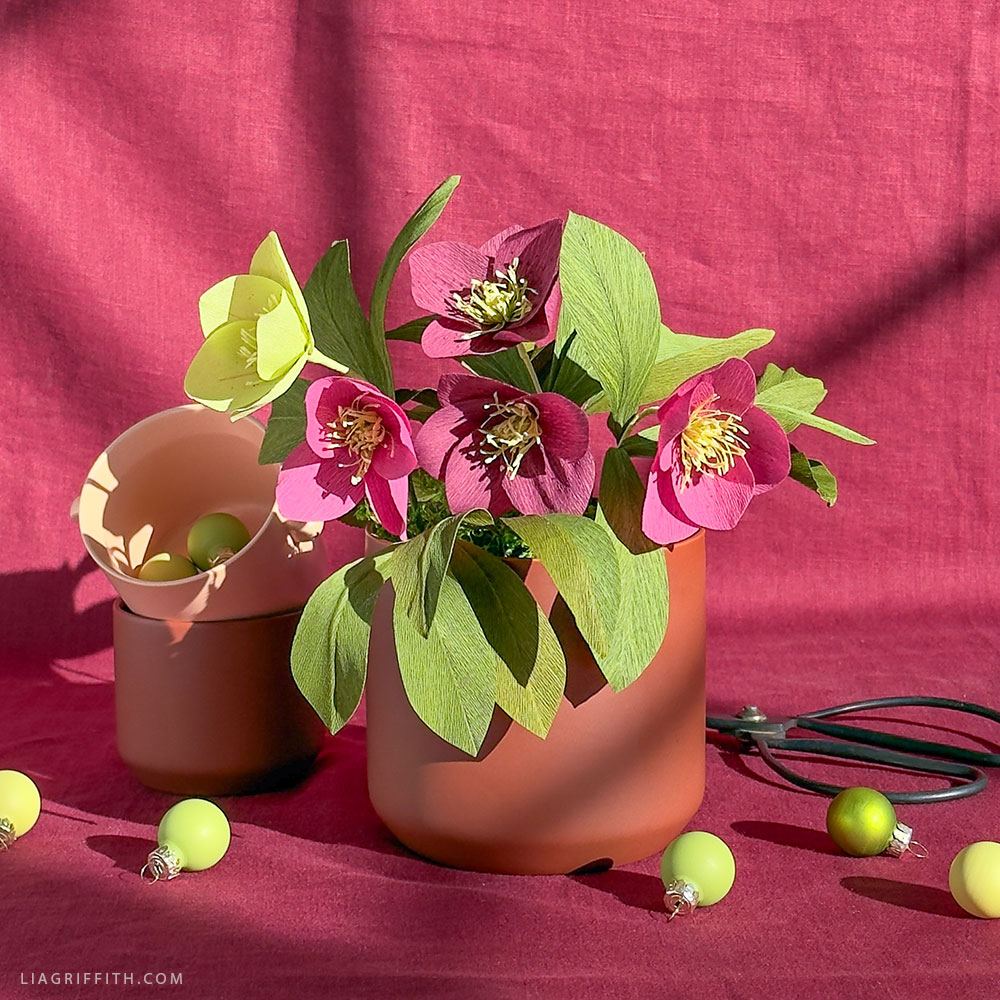
When you're finished with your Crepe Paper Hellebore, all that’s left to do is show them off! Style them in a vase, tuck them into a wreath, or add them to a holiday centerpiece for soft seasonal elegance. They’re also lovely arranged in small clusters or mixed with other winter florals for a fuller display.
We can’t wait to see your beautiful creations! So be sure to share your work with us using the hashtag #MadeWithLia on all social media platforms, and don’t forget to post in our crafters’ community to get inspired — and be an inspiration to others!
All the Goodies You Can't Google 🎁
Tired of scrolling endlessly for the perfect project? Save time, money, and Google-induced headaches with us! Our membership makes it easy to create beautifully finished crafts without needing to look all over the internet for ideas and materials or spend lots of money on individual videos and templates.
Become a Member
Discussion
Ask Lia or the community!
16 Comments
-

emily
March 20, 2026 at 12:36pm
-

Lia
March 20, 2026 at 2:12pm
@emily
-

Susan
December 1, 2025 at 3:44pm
-

Lia
December 2, 2025 at 8:27am
@Susan
-

Rebecca
December 1, 2025 at 5:40am
-

Lia
December 1, 2025 at 9:32am
@Rebecca
-

Margaret
January 26, 2024 at 2:12pm
-

Lia
January 29, 2024 at 10:27am
@Margaret
-

Donna
May 5, 2019 at 2:14pm
-

Lia
May 6, 2019 at 7:58am
@Donna
-

Debra
September 22, 2018 at 2:41pm
-

Allison
September 28, 2018 at 7:33am
@Debra
-

Peggy
August 13, 2018 at 3:27pm
-

Lia
August 14, 2018 at 9:02am
@Peggy
-

janet
November 7, 2017 at 5:22pm
-

Lia
November 8, 2017 at 8:56am
@janet
Leave a CommentHi! I’m about to make these and I realized that the PDF template and the .svg look to be different files based on the petals. Should they have the same shapes?
The petals should be the same shape. The PDF is correct and on my end the SVG is also correct. However sometimes we have found that when using a circut it will have some sort of glitch and change the shape. Try restarting your cricut as well as your device. If this doesn’t work take a screenshot of the differences you are seeing and send it to hello@liagriffith.com so we can better assist you!
I just noticed in the tutorial that step 11 says to cut the center of each petal. I’m thinking it should say “cup”?
Thank you for letting us know! You are correct you should be cupping.
Can’t find video when I click the link for. U -tube it goes to a video on how to use floral tape. Thanks.
Oh no! That video is actually a mistake. This project does not have a video. (Yet). 😉
Hi, I have been a long time fan.
I am downloading different svg files, and this is the only one that has a load error. I can upload it to the design space, but when I go to click “Add to Canvas,” it says, “Image Load Failure. There was a failure on the image(s) load.”
When I tried opening it, it showed the entire file, but when I went to open an editor, it showed that some of the leaf was cut off on the right hand side. This same cutoff is shown when I click “get info” on the file. I am not sure if this means there might be some issue with the file, or if this is something I am doing wrong on my end that the image won’t load into the canvas despite it being uploaded properly. Any other SVG I download from here works fine and makes it to the canvas, with the exception of this one.
Any ideas what to do? Cricut support has not been able to help.
It seems that some of our older SVG files are no longer compatible with the Cricut software update. I just updated this file, so you should be able to use it now. It will have a number 1 before the .svg so you can track that it is the update.
Thanks for letting me know!
I don’t see the full tutorial for members, is there a link for the tutorial?
Hi Donna! Yes the full photo tutorial is in the Downloads at the bottom of the post.
I am right now making these Hellebores flowers and I’m finding its very hard to put the 5 petals on. I’ve done two so far and I don’t know how to make it right. I get them pretty good and when they dry i pull them down and always two petals are on top of each other. I wish there was a video. I wonder if anyone has made these and have the same problems with these ?
Hi Debra! We suggest using either glue or tape and place one petal on the stem at a time, use hot glue for quicker dry time. Try pulling down the petals as you’re gluing them into place so you have a better idea of where they will lay when the flower is complete. By waiting until the end to pull all the petals down you are a bit blind to how the flower will look in the end! We hope this helps!
All the flowers are so beautiful and lifelike!!! I can’t really figure out my favorite! I guess it would be the rose, pink of course!!!
Thank you Peggy!
So pretty – love the colours 😀
Thank you!
Back to the Top