
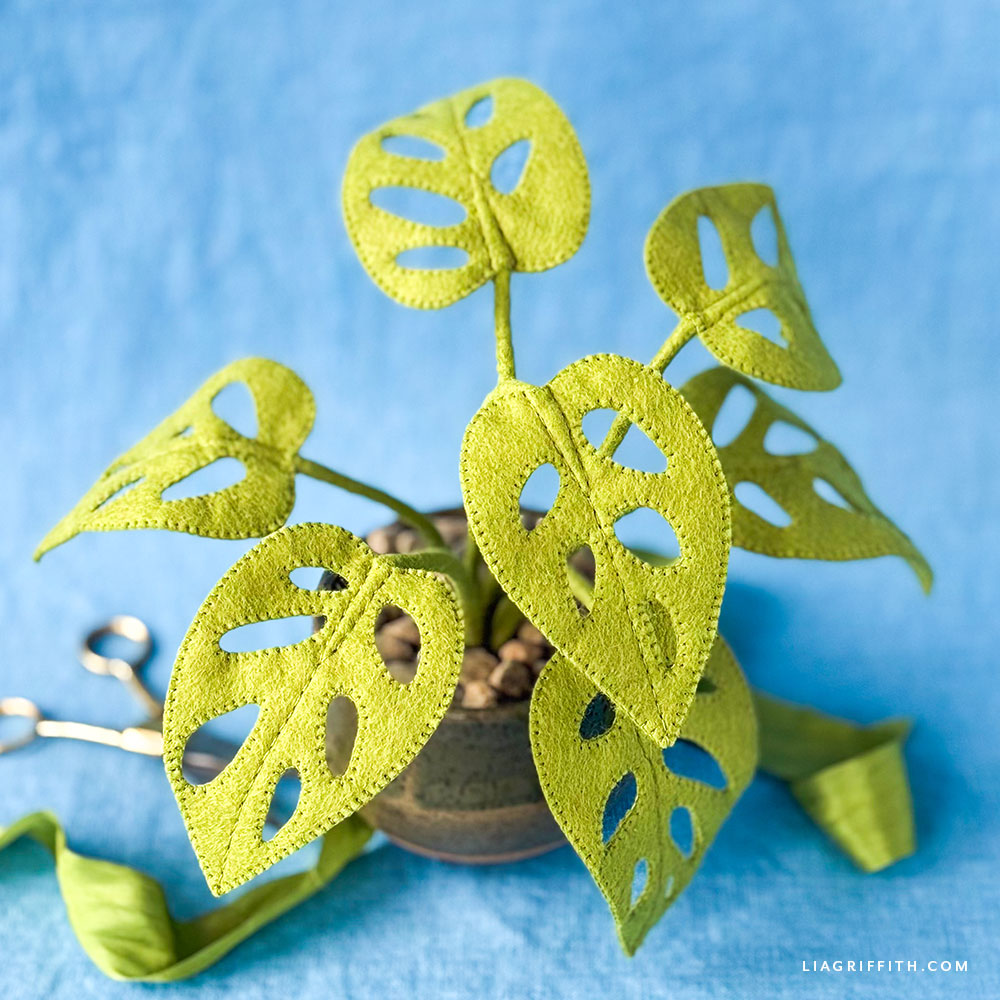
Holey moley
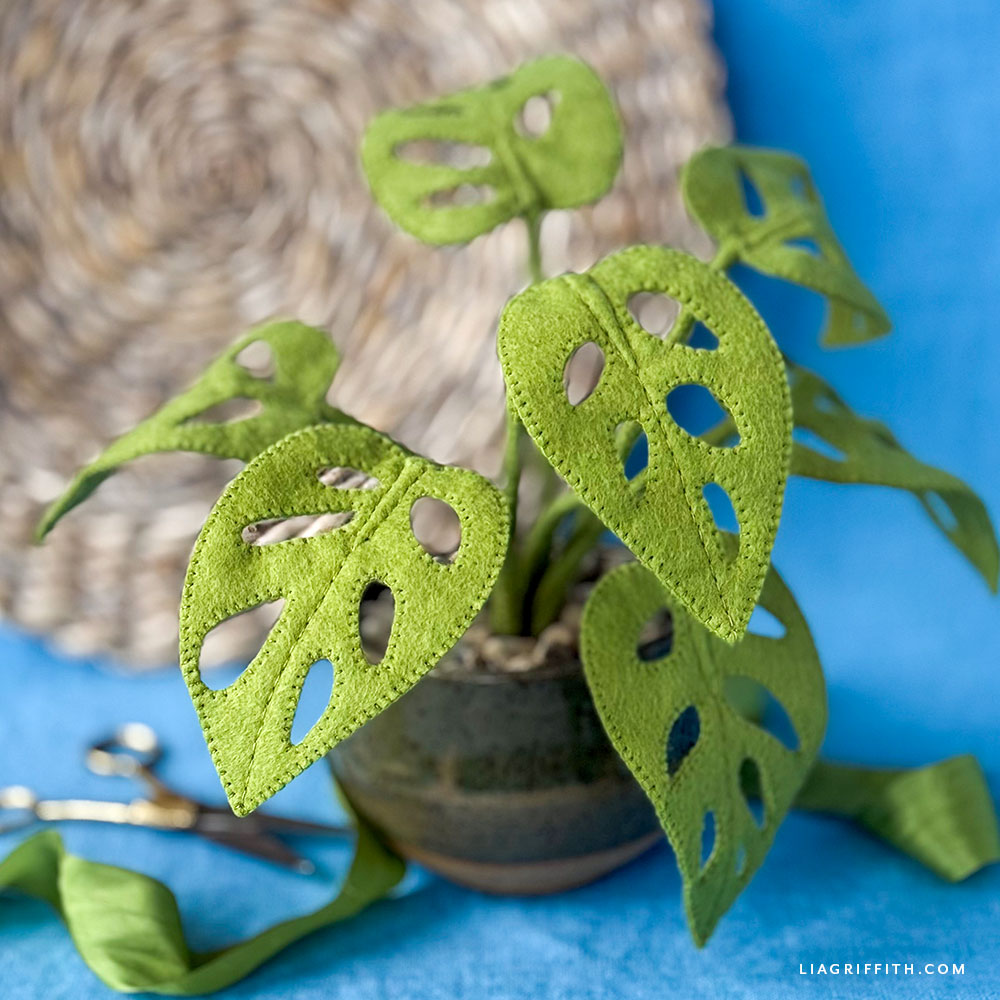
No green thumb? No problem. Our Felt Monstera Adansonii brings all the leafy charm of this beloved houseplant indoors, with no watering schedule or perfect patch of sunlight required. Better known to many plant lovers as a Swiss cheese plant, its wonderfully holey leaves make this tropical beauty especially fun to recreate in felt.
Goodies You Can't Google
You've found a premium project. But for less than the price of a fancy coffee... You'll get instant access to this and over 2,000 other premium projects inside the Lia Griffith membership!
Become a Member
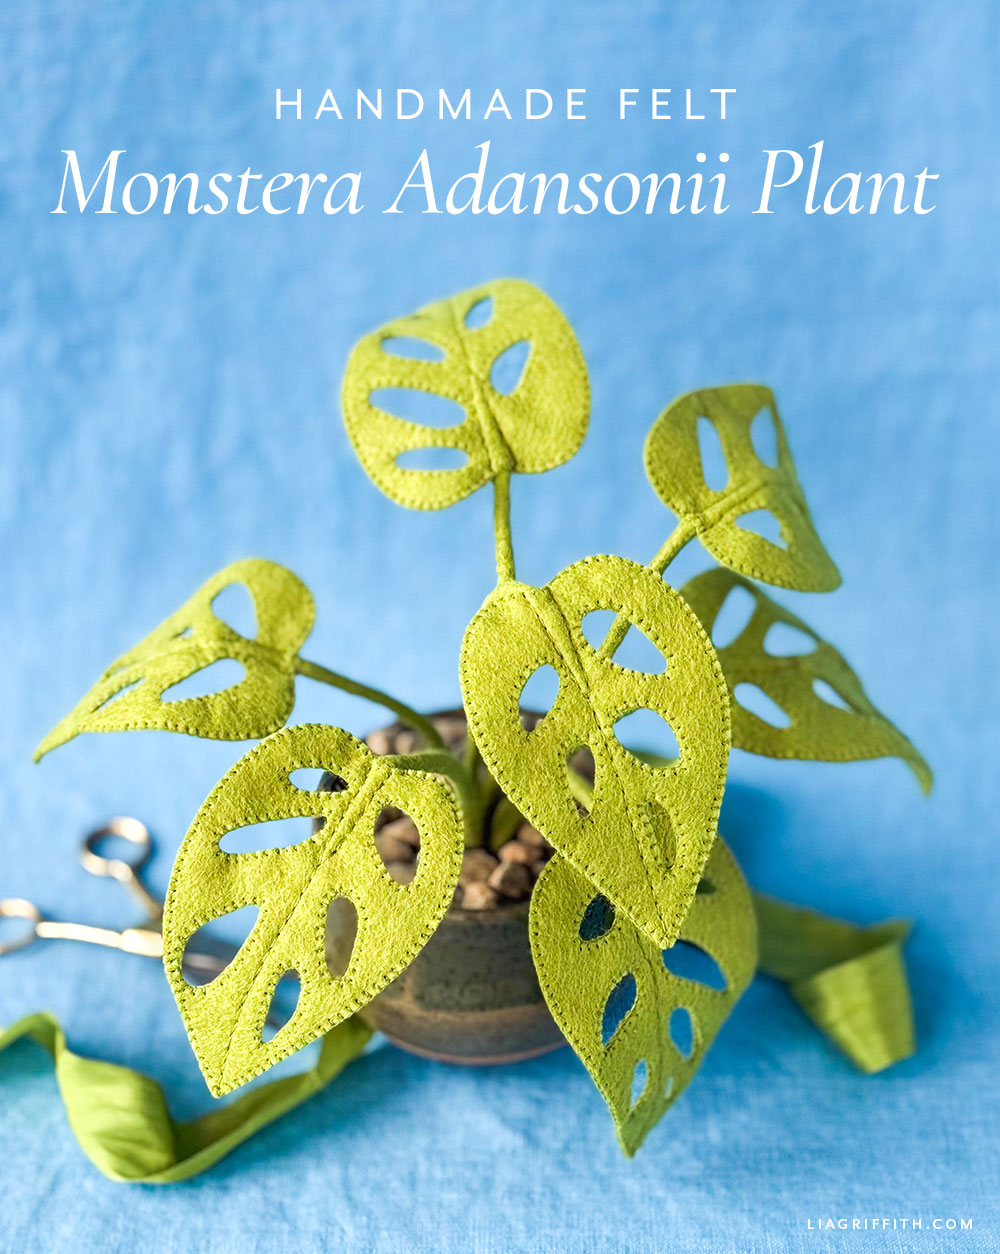
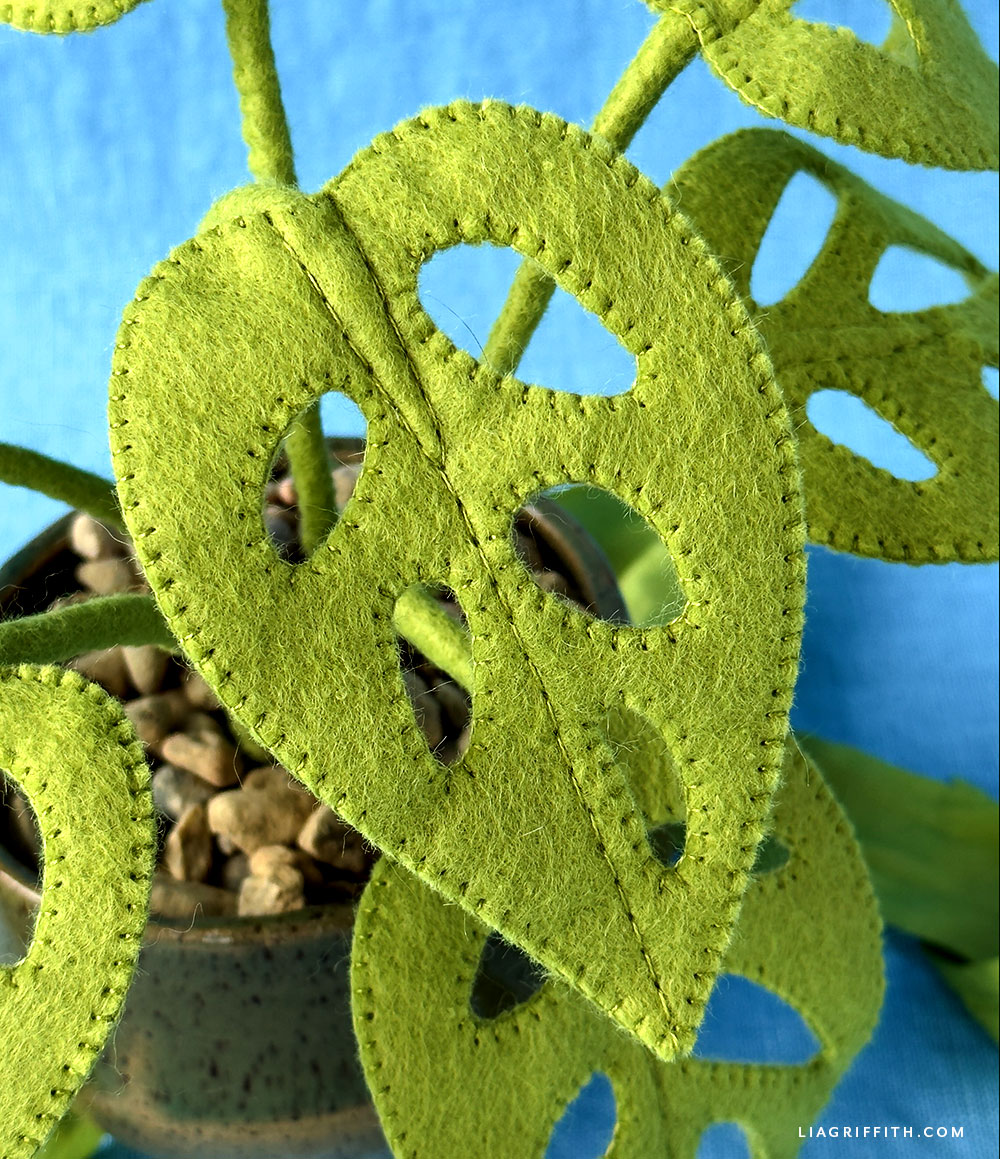
Beginner-friendly and a little different from our typical felt botanicals, this Felt Monstera Adansonii gives every leaf its own structure. Rather than working with a single piece of felt, you'll layer two pieces together and stitch around the entire leaf, incorporating a wire stem as you go. That extra layer creates a substantial leaf while the wire lets you bend, turn, and position each stem until your plant begins to grow in just the right direction.
Of course, all those famous holes require some careful cutting. We recommend using a cutting machine to handle the intricate openings cleanly, though you can cut them by hand if you're comfortable working with small details. An embroidery needle and floss will keep those tiny stitches neat around every curve.
And speaking of those holes: they have a name! Fenestrations are the natural openings that develop in the leaves of plants like monstera. Some scientists believe they may help the leaves cope with the light, wind, and heavy rain of their tropical habitats. Whatever their biological purpose, they lend a unique look and unmistakable flair to this lush and lovely houseplant.
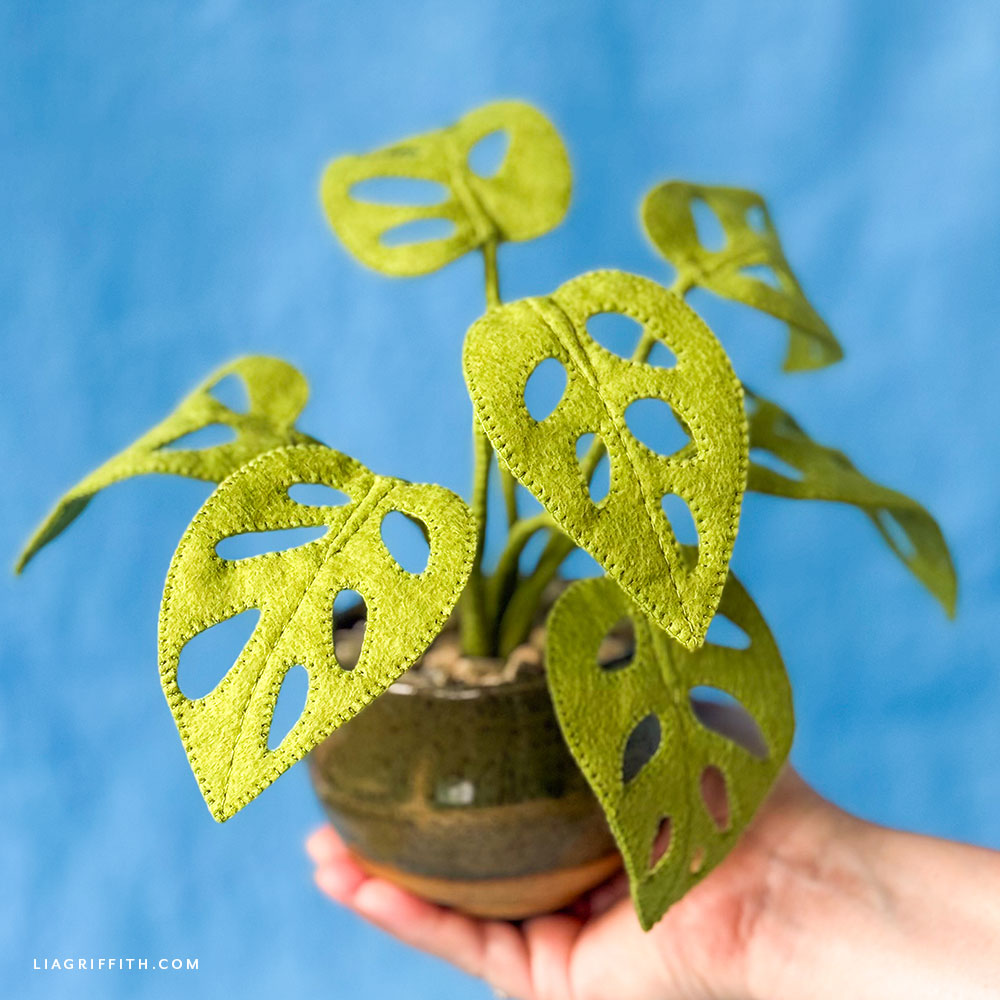
For a full and leafy display, we recommend making at least seven stems. Arrange them at varying heights and gently bend the wires to give your plant a loose, organic shape. And if one stitched houseplant isn't enough, our Felt Prayer Plant makes a lovely companion for building your own maintenance-free indoor garden.
Once you've found the perfect spot for your Felt Monstera Adansonii, share your handmade greenery with our crafters' community and on social using #MadeWithLia.
FAQs
What stitches are used?
This project includes blanket stitch, whip stitch, and double-running stitch
Do I need a cutting machine to make the monstera leaves?
Not necessarily, but we recommend one. The many small fenestrations make these leaves especially well suited for precise machine cutting.
All the Goodies You Can't Google 🎁
Tired of scrolling endlessly for the perfect project? Save time, money, and Google-induced headaches with us! Our membership makes it easy to create beautifully finished crafts without needing to look all over the internet for ideas and materials or spend lots of money on individual videos and templates.
Become a Member
Discussion
Ask Lia or the community!
Back to the Top