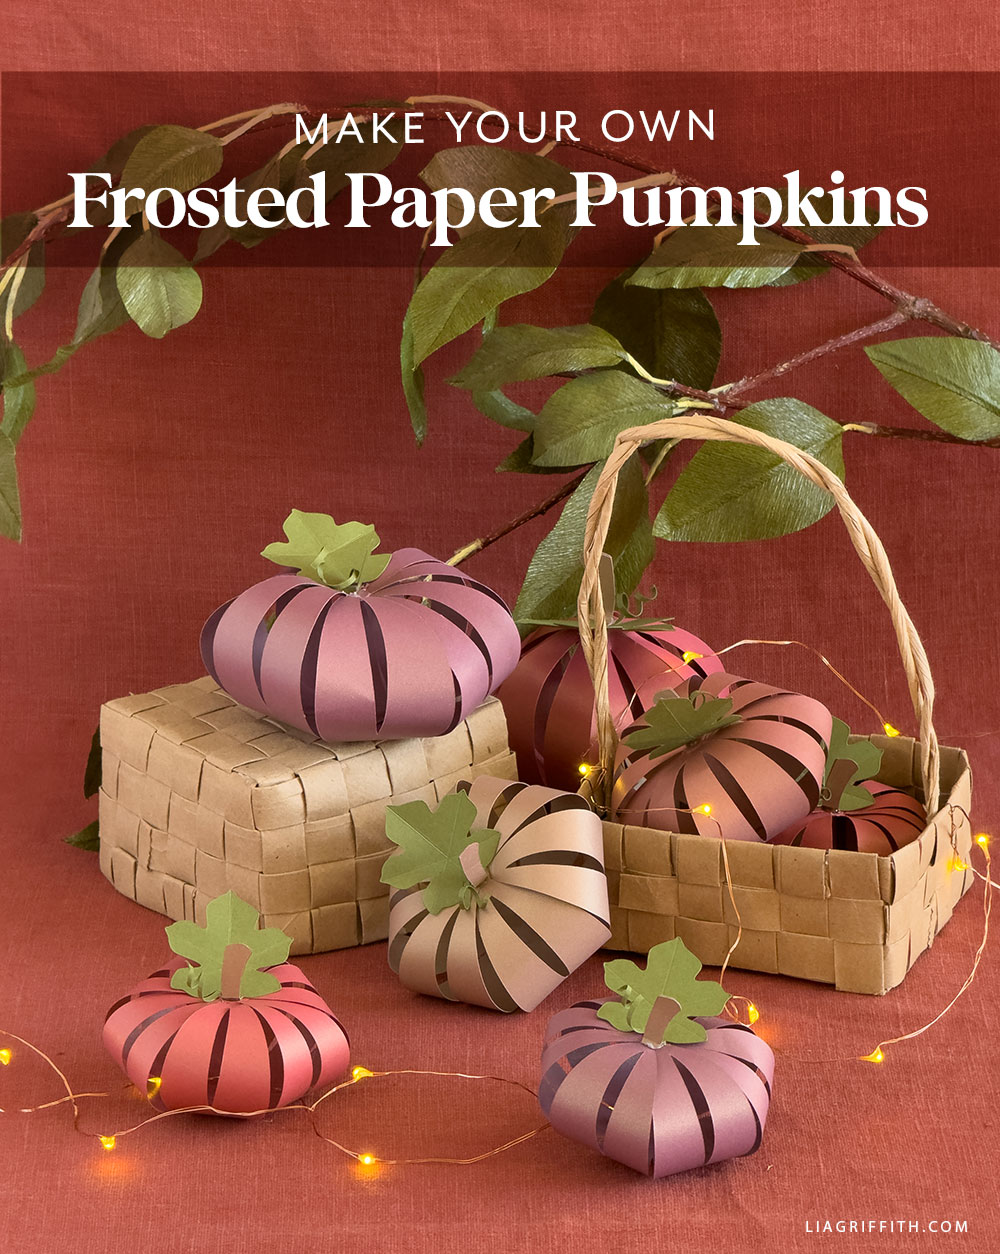
Oh my gourd, these are cute
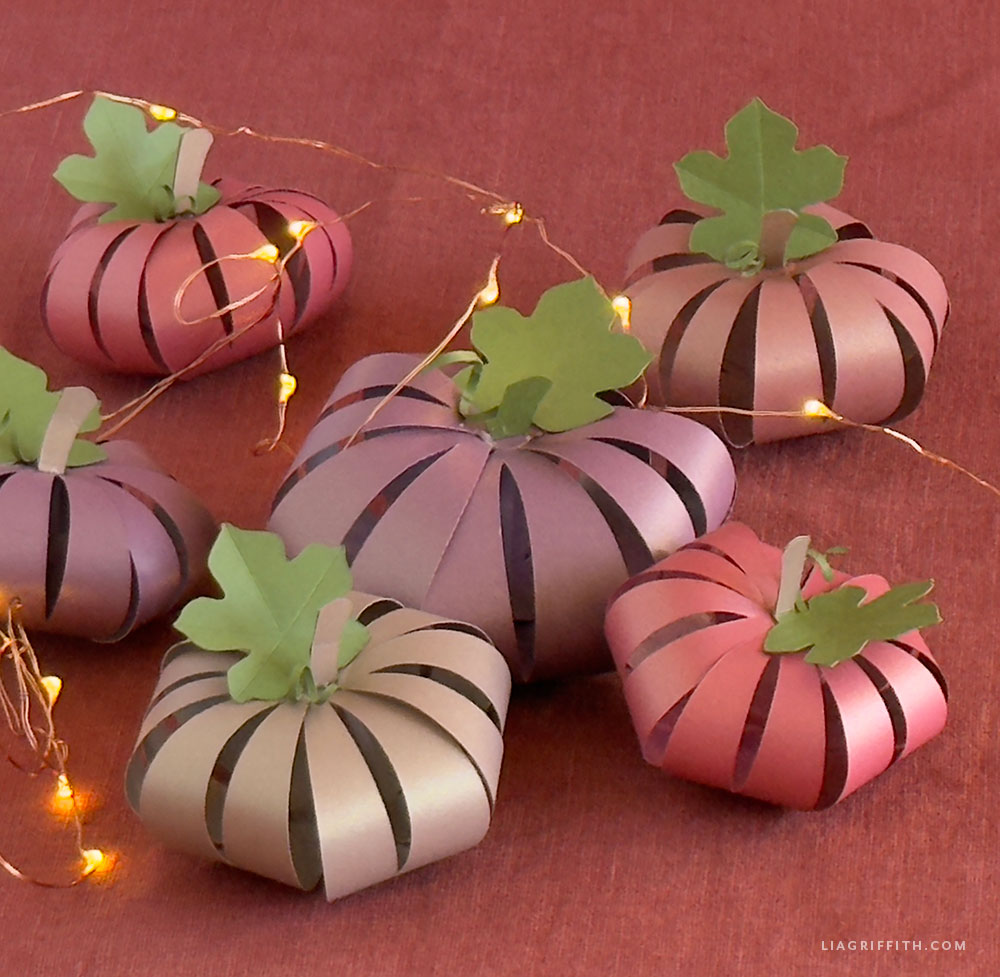
Pumpkin decor is always a fall favorite, and these paper pumpkins are the perfect addition to this month's collection. This is an easy craft project, especially if you are using a cutting machine. If not, you can always use detail scissors to cut these cute little pumpkins.
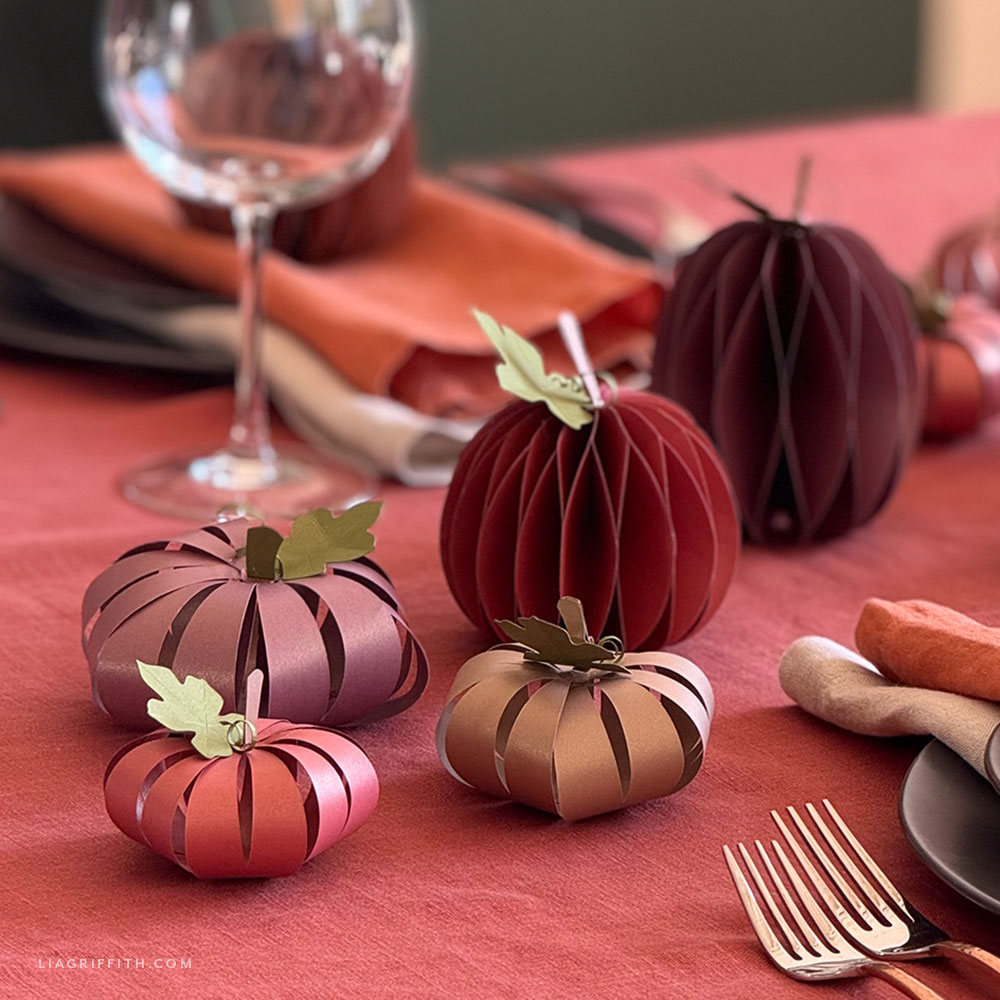
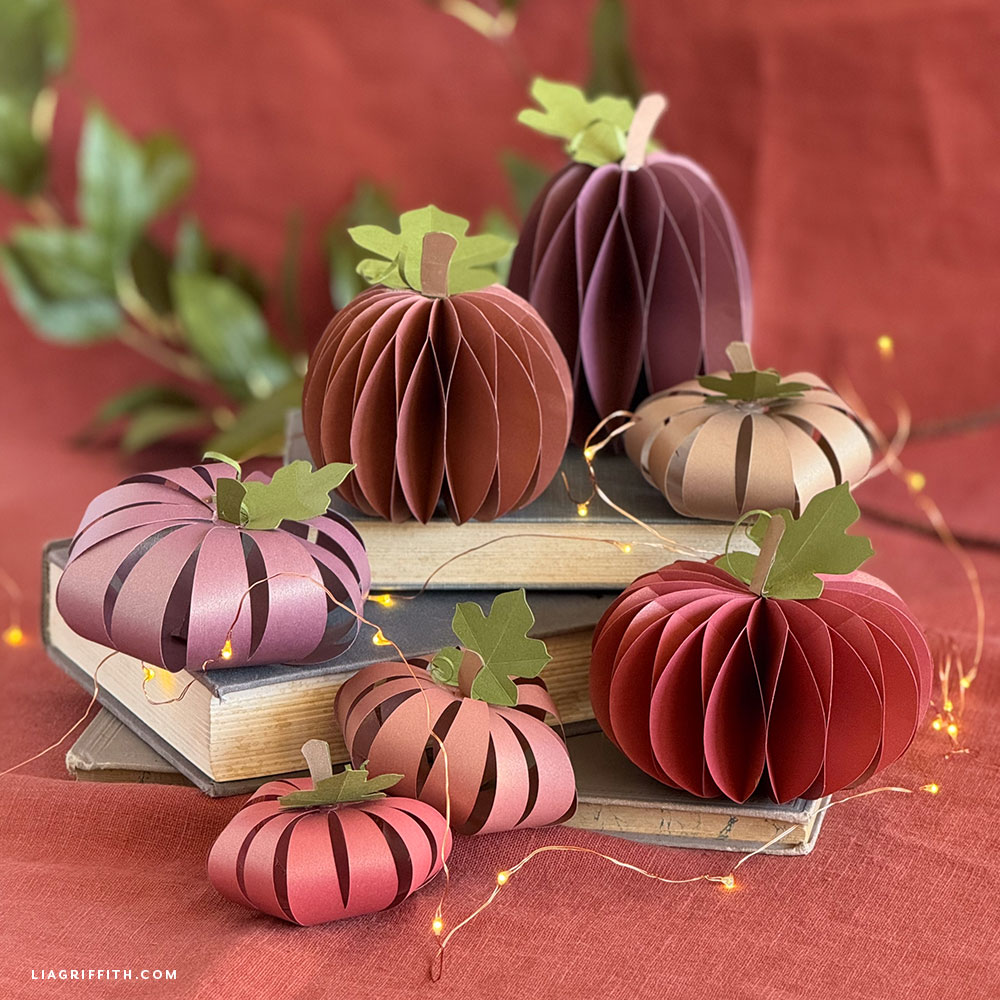
These pumpkins pair beautifully with our honeycomb pumpkins to create a complete autumn display. Mix and match both styles for added visual interest and dimension. The combination of the structured honeycomb design with these charming paper pumpkins creates a stunning seasonal arrangement.
Goodies You Can't Google
You've found a premium project. But for less than the price of a fancy coffee... You'll get instant access to this and over 2,000 other premium projects inside the Lia Griffith membership!
Become a Member

Once you've crafted your paper pumpkins, they look really pretty as table decor for a festive fall dinner. They're incredibly easy to make and add just the right amount of charm to your dining table. Or you can use them to decorate your mantel for fall. Like some of our other crafts in this collection, you can make them now and enjoy them until you're ready to switch your home decor for the holiday season.
These paper pumpkins also make adorable gift toppers that add a personal, handmade touch to your presents. They're the perfect finishing detail for fall birthday gifts, hostess presents, or Thanksgiving offerings.
We've included a full photo tutorial in the download that walks you through each step of assembly, making this project accessible for crafters of all skill levels. You'll find both an SVG file, which we recommend for cutting machines, and a PDF template for those who prefer to cut by hand.
If you couldn't tell by looking at the rest of our collection, we are loving this soft pink and orange palette for fall. You can use the same colors we did for your paper pumpkins or choose whatever colors you want to fit your personal style. Whatever you do, share pictures with us by tagging #MadeWithLia on Instagram.


Explore More
Love these little pumpkins? Check out more pumpkin crafts here. Or browse more Halloween and fall ideas.
All the Goodies You Can't Google 🎁
Tired of scrolling endlessly for the perfect project? Save time, money, and Google-induced headaches with us! Our membership makes it easy to create beautifully finished crafts without needing to look all over the internet for ideas and materials or spend lots of money on individual videos and templates.
Become a Member


Discussion
Ask Lia or the community!
4 Comments
-

patricia
October 3, 2021 at 9:31am
-

Lia
October 4, 2021 at 7:53am
@patricia
-

patricia
October 1, 2021 at 9:30am
-

Lia
October 4, 2021 at 8:11am
@patricia
Back to the TopREQUEST #2….How do you replace the LED lights when needed AND How do you turn them off and on as needed IF the pumpkins are glued closed??…Thank you! Patricia
I used the glue dots that I can pop open and closed without tearing the paper to turn the lights off.
Lia How do you turn the LED lights off/on or replace them when they stop working IF the pumpkin is glued closed?
…Thank you…Patricia
For one of the tabs I use a glue dot so I can pop it open and closed.