
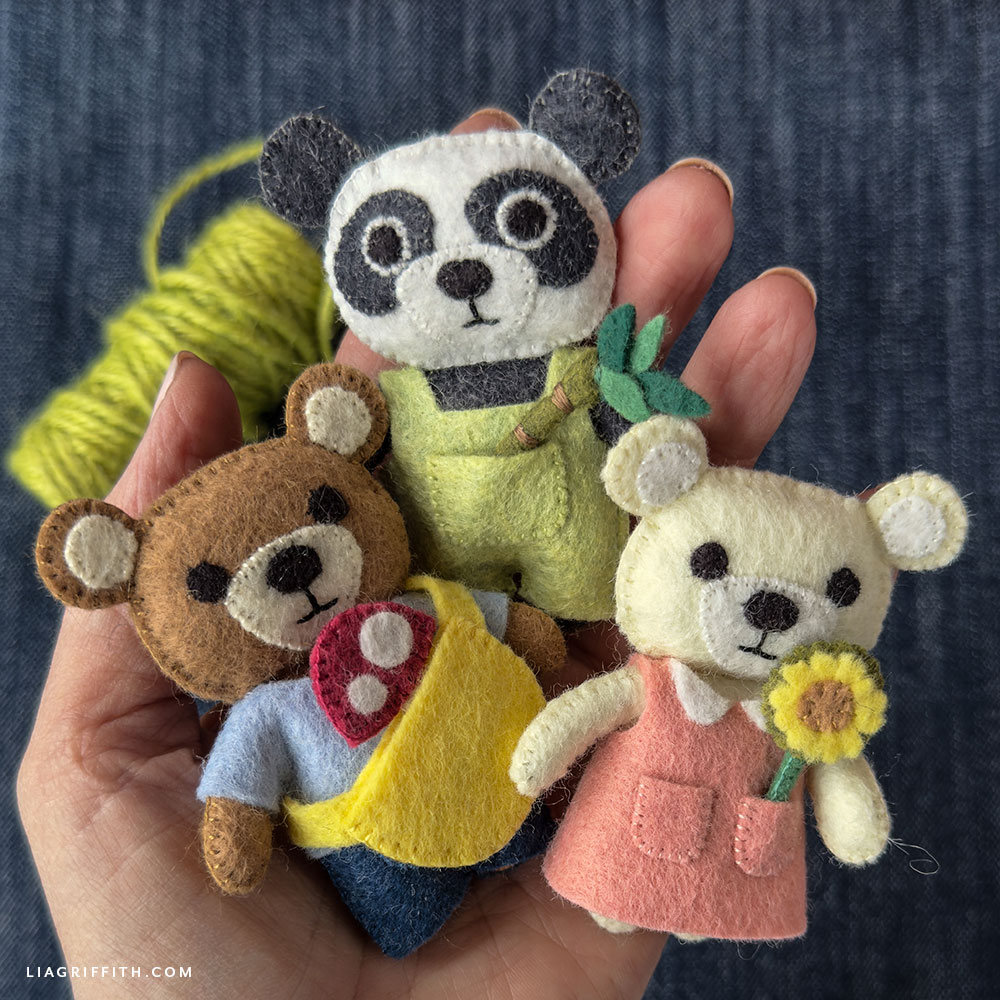
Teeny Teddies
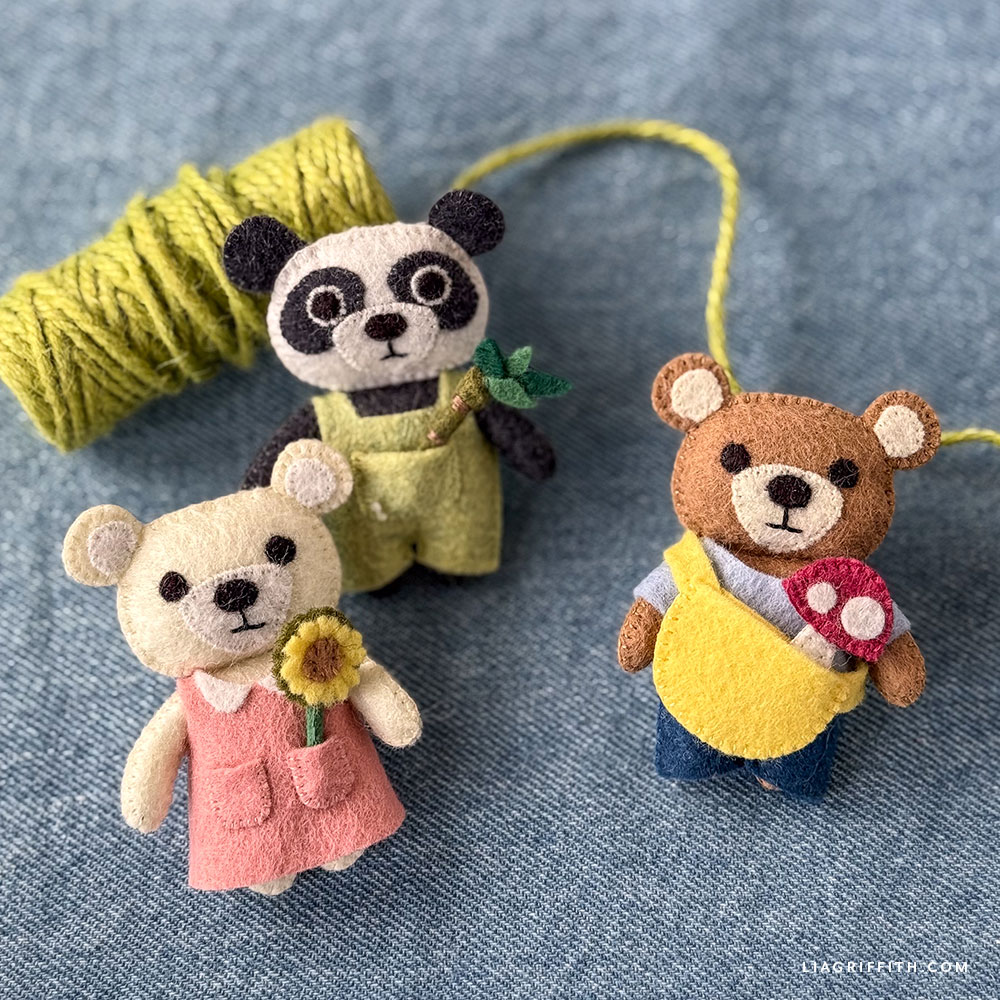
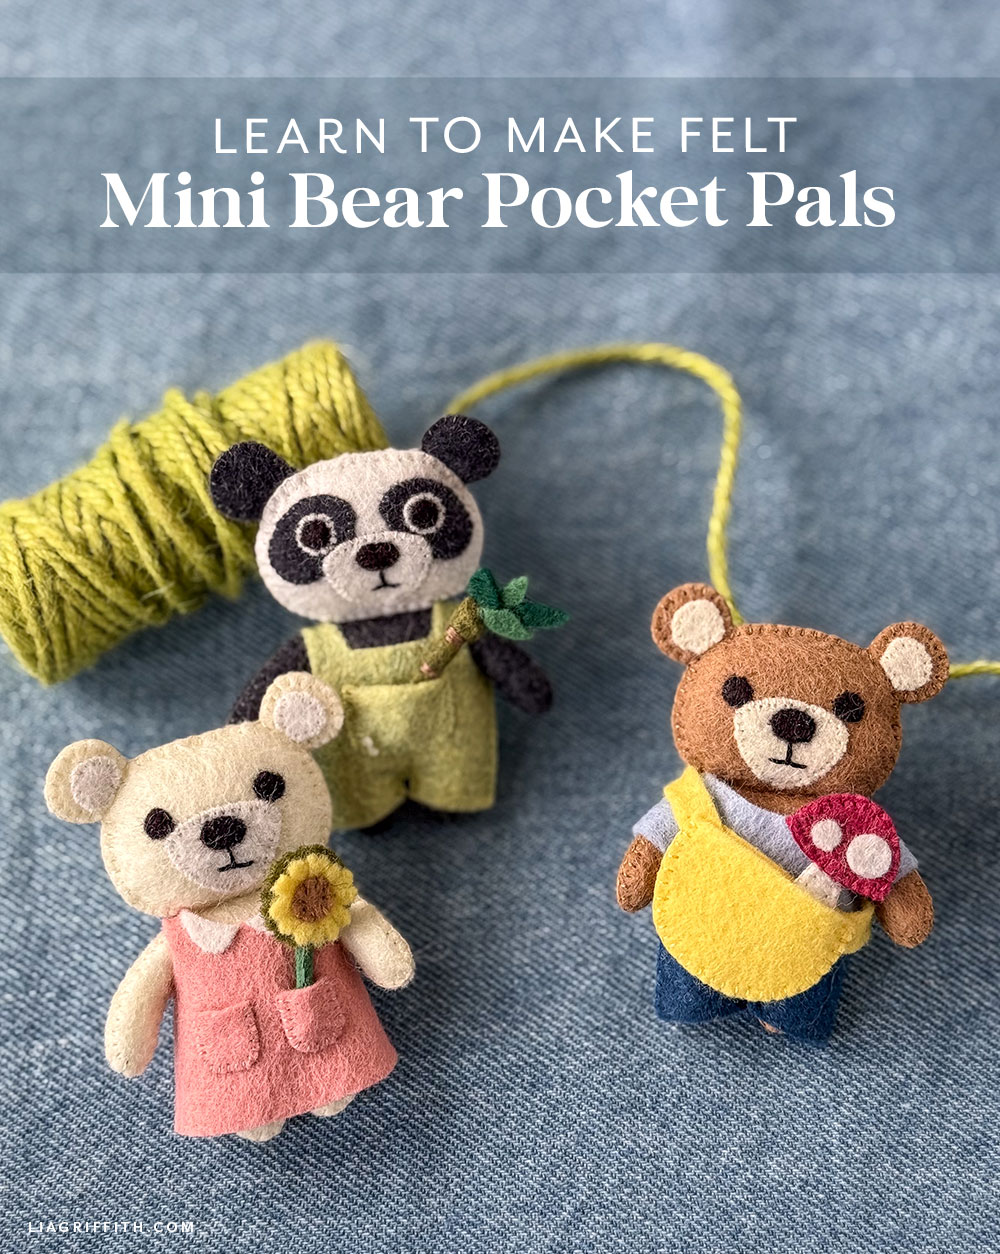
Some projects are just plain fun! If you’ve been with us a while, you know how much we love to create adorable stuffies—especially the mini variety. These Felt Mini Bear Pocket Pals are guaranteed to make you smile before you even finish the first stitch. Besides, who could resist a cuddly new friend when it’s itty-bitty enough to fit in your palm?
Project Includes
Printable Template Cutting Machine Template Photo TutorialTools
- Cricut Maker or Silhouette Cameo 4 (optional)
- Detail Scissors
- Pinking Shears
- Embroidery Needle
- Straight Pins
- Stuffing Tool or Chopstick
- Needle Threader (optional)
- Disappearing Ink Pen
Materials
- Lia Griffith's Wool Blend Felt (1 sheet ea.) — Rose Quartz, Black, Charcoal, Lemon, Antique, Vanilla, Doe Brown, Pistachio, Bluebell, Magic Blue,Raspberry, Pine, Kelp, and Lichen
- Embroidery Floss - Very Light Topaz (727), Very Light Ash Gray (535), Very Light Shell Pink (224), Black (310), Snow White (B5200), Off White (746), Very Light Ash Grey (535), Medium Mocha Beige (3863), Apple Green (15), Very Dark Antique Blue (3750), Very Light Cornflower Blue (157), Ultra Dark Rusty Rose (3350), Dark beige Brown (839), and Ultra Very Dark Emerald Green (3818)
- Mini Snaps – 4mm
- Floral Wire – 24-Gauge Paper Covered Green
- Polyester Fiber Fill — Lia Griffith Stuffie Puff
- Tacky Glue
Goodies You Can't Google
You've found a premium project. But for less than the price of a fancy coffee... You'll get instant access to this and over 2,000 other premium projects inside the Lia Griffith membership!
Become a Member
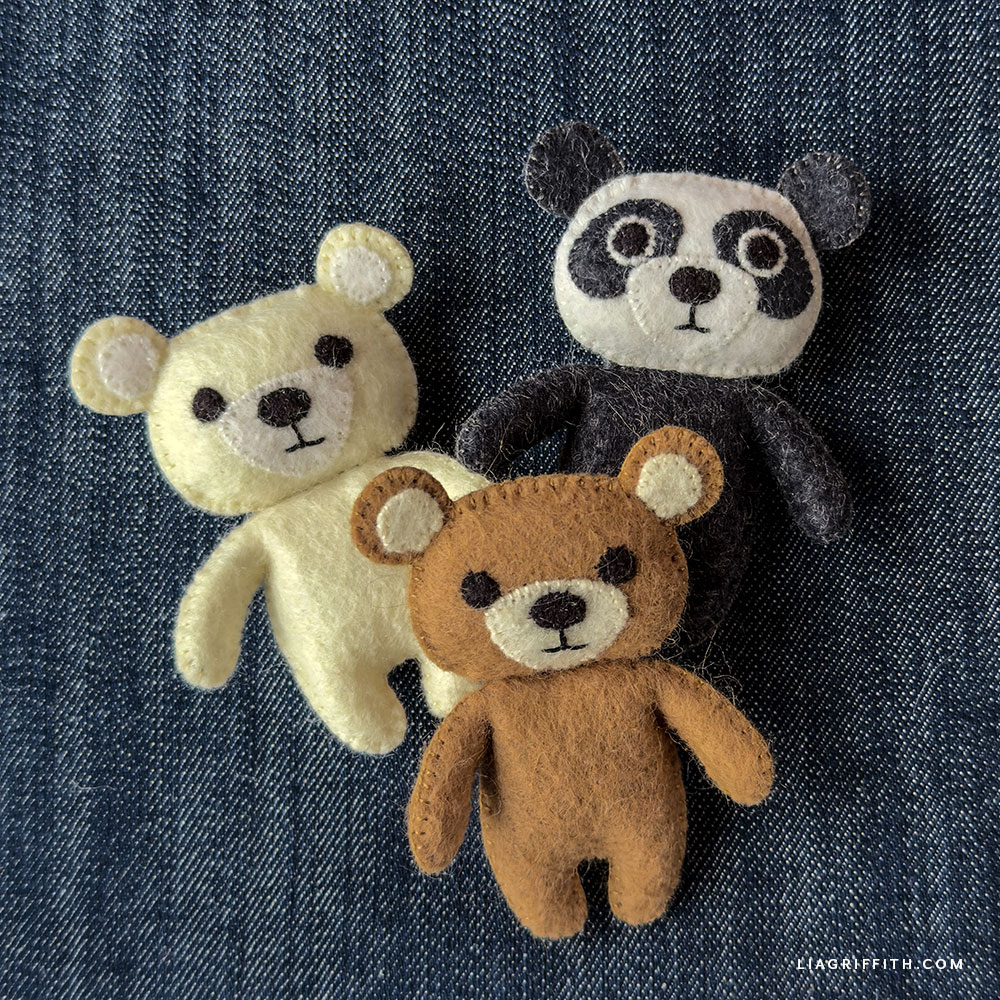
These Felt Mini Bear Pocket Pals are very beginner-friendly and so much fun to create. Easy embroidery and adorably tiny details come together in a mighty, albeit teeny, package. Once you get the hang of it, add a few more to your collection with our Felt Frog and Felt Bunny Pocket Pals.
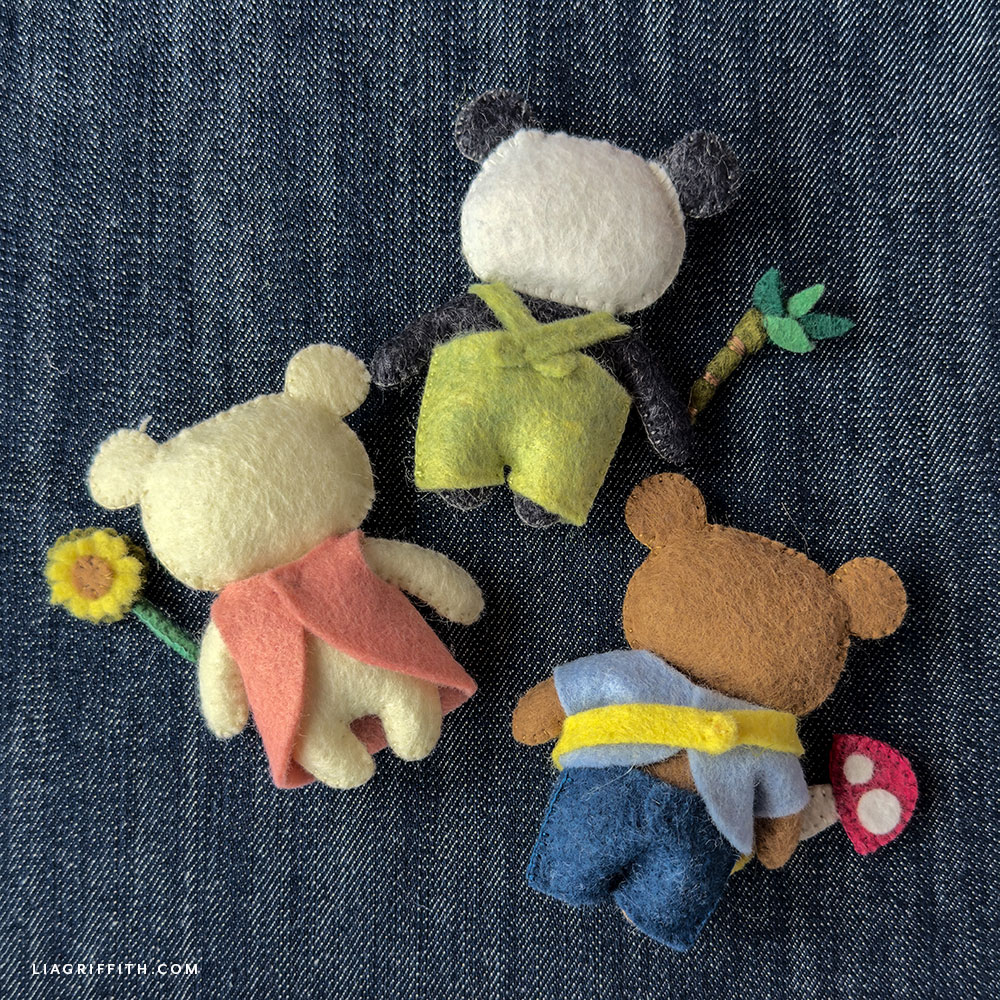
So, I know you’re thinking: could these possibly get any cuter? And the answer is, yes! These adorable bears come with their own miniature wardrobe and accessories that bring each character to life. Mix and match their little overalls, dresses, t-shirts, and more to foster your kiddos’ imaginative play and maximize storytelling fun.
After you finish your very last stitch, these Felt Mini Bear Pocket Pals are ready for adventure. Your kiddos can tuck them into pockets or line them up for playtime. And because they’re quick to make, it’s easy to create a whole set of friends to share. There’s also plenty of room to make them your own. For example, you can change the felt colors or add your own tiny details for a more custom feel. No two need to look alike; in fact, the more variety, the better.
When your Felt Mini Bear Pocket Pals are ready to roam, share them with us in the crafters’ community and on social using #MadeWithLia.
Crafting Tip: New to crafting felt animal stuffies and want to learn more? Take our mini course, 8 Easy Steps to Create Any Felt Stuffie.

Felt Stuffie Video Workshop!
In this skill-building workshop, you will learn 8 steps to make any adorable felt stuffie design from our site.
Craft along with us, or learn the techniques and apply them to other stuffies.
This course is free for all members!

All the Goodies You Can't Google 🎁
Tired of scrolling endlessly for the perfect project? Save time, money, and Google-induced headaches with us! Our membership makes it easy to create beautifully finished crafts without needing to look all over the internet for ideas and materials or spend lots of money on individual videos and templates.
Become a Member
Discussion
Ask Lia or the community!
14 Comments
-

Kate
August 5, 2020 at 4:25pm
-

Lia
August 11, 2020 at 7:21am
@Kate
-

Michelle
September 6, 2017 at 11:22am
-

Lia
September 6, 2017 at 1:32pm
@Michelle
-

Michelle
September 6, 2017 at 1:51pm
@Lia
-

Clare
October 20, 2016 at 4:04am
-

Lia
October 20, 2016 at 9:17am
@Clare
-

Clare
October 21, 2016 at 3:55am
@Lia
-

Madai
June 8, 2016 at 11:05am
-

Lia
June 9, 2016 at 10:01am
@Madai
-

Debbie
June 4, 2016 at 6:26pm
-

Lia
June 6, 2016 at 11:39am
@Debbie
-

Kerstin
June 4, 2016 at 10:36am
-

Lia
June 6, 2016 at 9:10am
@Kerstin
Leave a CommentI love your patterns so much! I don’t know if you take suggestions but a larger version of the panda bear would be so cool, or maybe a wolf! Thank you so much for making these patterns so accessible!! <3
Thank you for the suggestions Kate! We love hearing what projects our members would like to see and try to add them in to our collections 🙂
Hoping you can add these cuties to your list of projects to convert to SVG. Thanks!
The SVG has been uploaded 🙂
Wow! Thank you!
I’ve just started to stitch up one of these little bears, but I’m not sure exactly how to do the blanket stitch. I’ve done the head and face so far, but my stitching isn’t very neat around the ears. Any chance you could give a little close up tutorial and/or pics of how you’ve sewn them up??
It is hard to show, but you start with the ear sandwiched between the 2 head pieces. You poke the needle through all 3 layers, then come back up just through the ear, staying close to the edge, then finishing the stitch to move onto the next. A great example on how to do this is in our Felt Fox Video. Hope that helps!
Thank you! I didn’t realise there were videos as well. These are awesome and I’ll hopefully be able to make up a few for next year’s Christmas shoeboxes!!! Thank you for sharing your creations.
Hi there!
All of the little critters are adorable!
I’m trying to figure out though what thickness I should purchase from Felt on the Fly.
They have 1mm, 1.5mm etc.
Thanks for your help! and the cuteness 😉
Thanks so much! 1mm works best for most of our projects.
Definitely going to make these. So cute!!! Debbie
So glad you like them, Debbie!
attach a tube of the dress color on the back and you have beautiful finger dolls. Or don’t stuff the bodies and leave the dress seam open for your fingers.
Nice teddies 🙂 my nieces and nephews will love them
Yes, both great ideas!
Back to the Top